
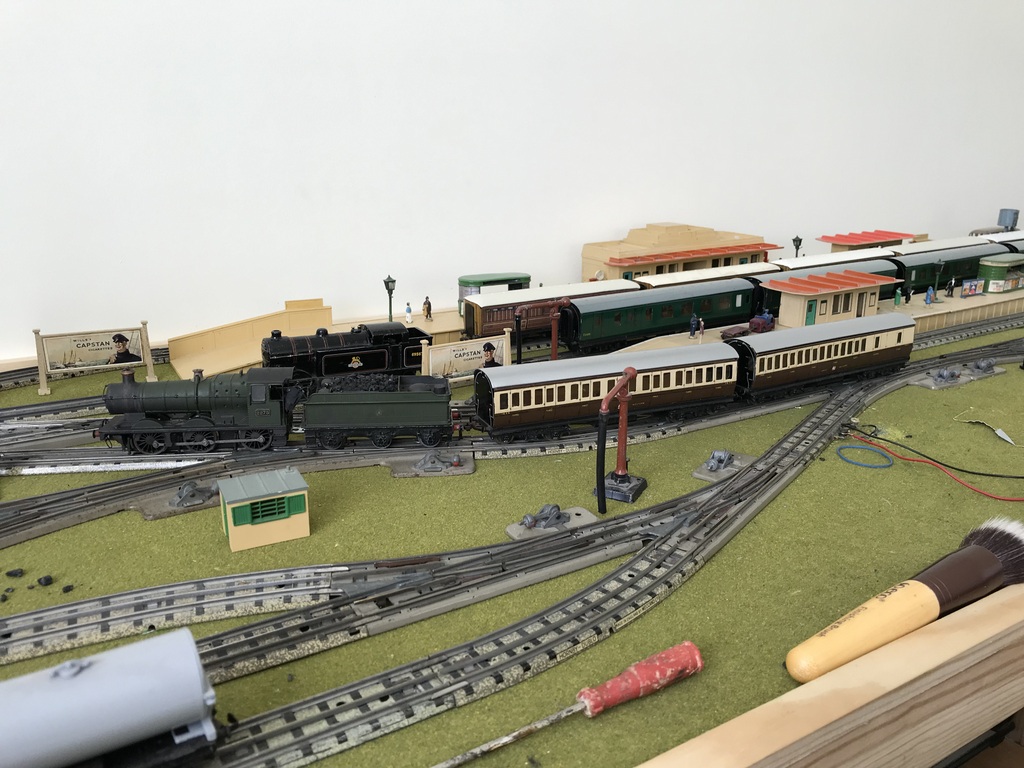
Paul Thompson has been around 3 rail for many years and in fact painted, extremely well, my BR green 2-6-4T 80135. Here are some of his videos on Tomlinson Park his 3 rail layout. He also has a garden railway and takes great videos of that as well.
All posts by tony
2018 – 80th Anniversary of Hornby Dublo
2018 was the 80th Anniversary of the introduction of Hornby Dublo by Meccano. The HRCA produced a special commemorative edition of the The Hornby Railway Collector. However if you are not a member you can access the original article in The Meccano Magazine here – scroll down to page 554 and then to 572 for more information. Beware – once on this site you may never leave as there is so much of historical interest in these old magazines.
One of my favourite HD experts, Ron Dodds, has also celebrated the anniversary with a series of videos on his Mercia layout and they can all be seen here:
Trix Britannia
A bit difficult to understand but the Trix Britannia has been my only railway purchase this year and I haven’t mantioned it – until now.
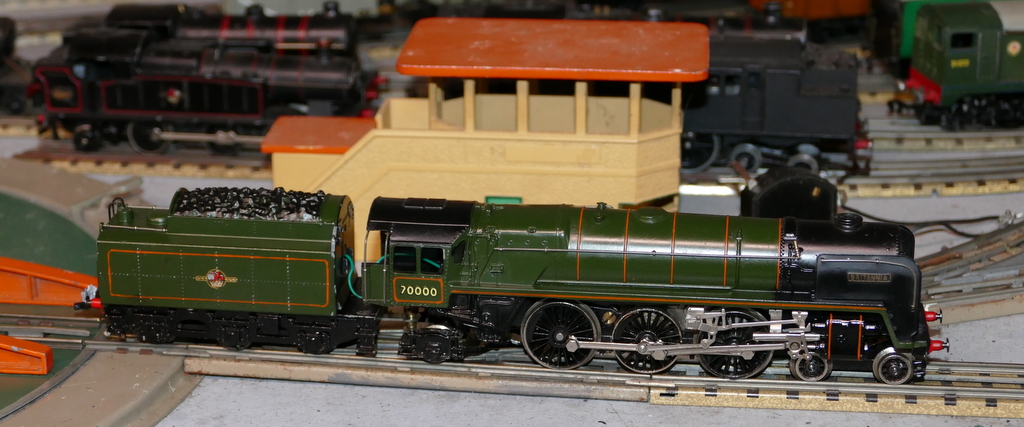
In very good unboxed condition. Initial running had its problems as the tender had a tendency to derail. This was identified as a tender wobble caused by the rear wheel set. Many efforts to correct this has failed as I think the the axle hanger must be either out of line or damaged. Swiching axles did not improve the situation so it wasn’t the axle itself. In the end I used a couple of mini neo magnets attached to the coupling screw which drags the tender toward the centre rail and stops the derailments. This mod was thanks to an article on the HRCA forum which used them for a similar but different problem.
This loco now sits on shed with the Trix Standard 5
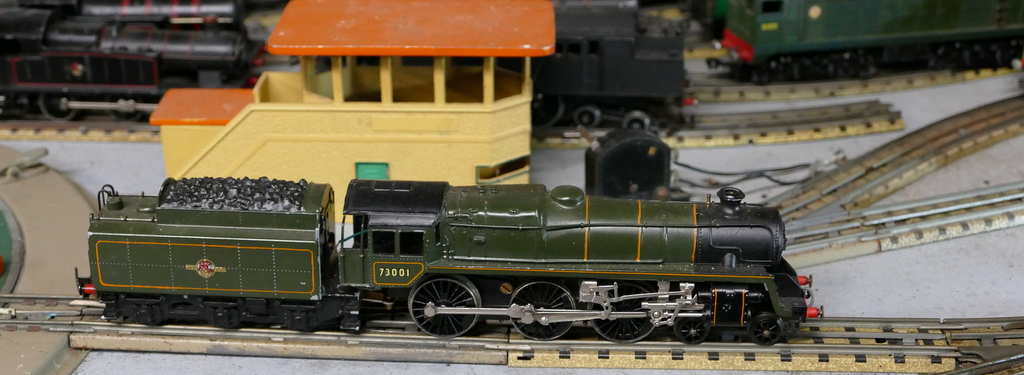
Two very attractive locos with excellent valve gear, a high level of detail and although not to the same scale as HD look great running around the track especially behind the Trix carriages, Excellent additions to any rail operation.
Richard’s Update
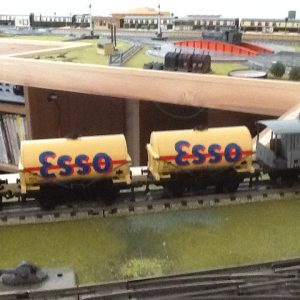
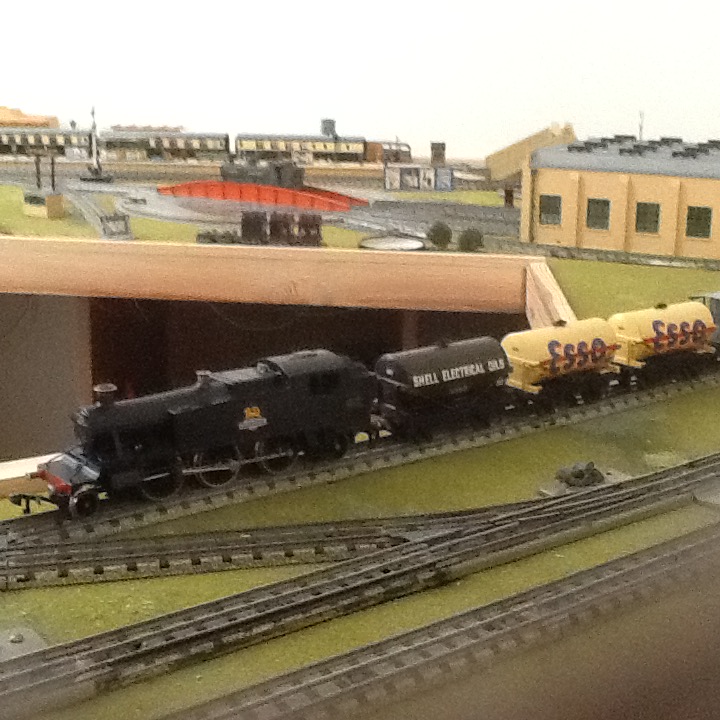
Here’s my latest spray painting attempts! My friend Martin gave me some VERY rusty damaged tank wagons to see what I could do with them. Here’s the result.

The Shell Electrical Oils one came about because Modelmaster had no transfers for Shell Lubricating Oil left. So tried that instead.
For The buff/beige Esso ones I discovered Fox Transfers do a bogie esso blue/red transfer which meant I could tackle two short tanks. Very difficult for me – the letters for the Esso bit were only attached with thin strip at the top and bottom of the letters so I found them much harder to settle into right place, but in the end they worked out ok.
Made an error using Revell enamel varnish though when doing the brown shell electrical oil tank. I have read somewhere you can hide the transfer film by putting on a coat off clear gloss and then a coat of Matt. I found the Matt started to “bubble” the paint. I had to smooth everything out with linen cloth and white scuff sponge which had done the trick. I’ve not had a major problem before though, so I think I will use an acrylic varnish next time. But apparently some acrylic varnishes can dissolve transfers!
Anyway, my friend Martin, old hand at this sort of thing, always uses Testers Dullcote spray varnish with no problems, so that’s what I’ll do next time.
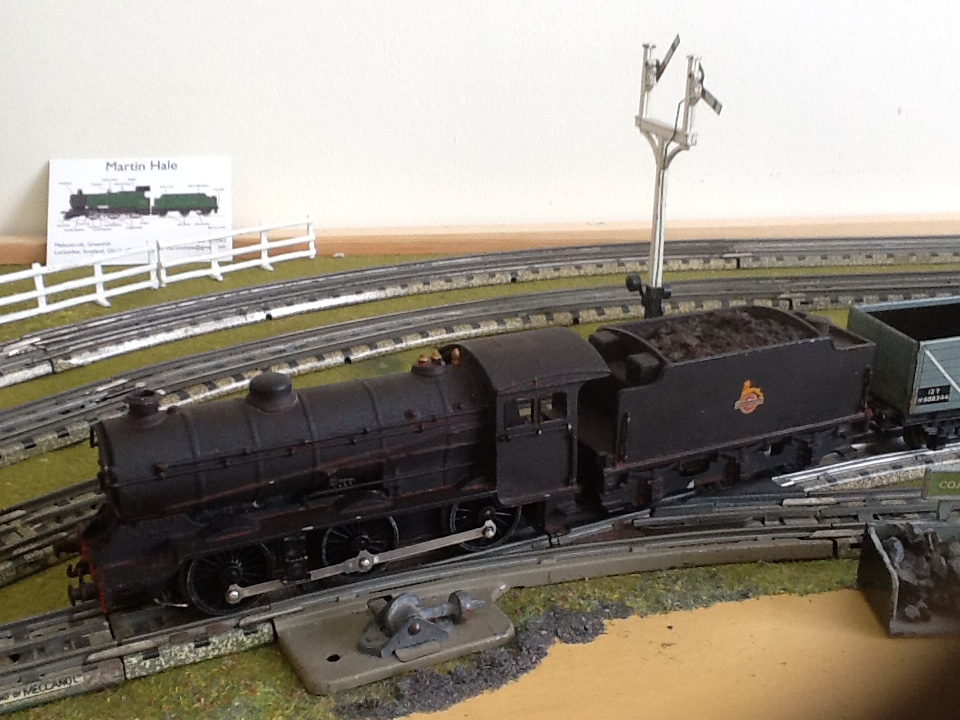
Converting a kit built J39
Thought I’d send you photos of my Kit built J39 I rescued which now runs pretty well ( with a few tweaks) on my dublo 3 rail layout. The alterations were done by retired friend Martin who is a restoration expert!
First job was to change wheels. It had Romford wheels which were replaced with N2 non bushed ones, the centres unflanged so as to get round curves. The tender centre wheel flanges were also filed down for same reason.
The chassis and motor were an old Triang jinty R52? Martin first made a plastic insulating plate with sockets for Dublo standard 3 rail pickup but this didn’t work – despite all sorts of adjustments, the pickup mechanism was too low down and fouled track and points etc. So we went back to your pictures of conversions, and took Train Society’s Damian Moss’s advice about using envelope fasteners.
This time, Martin replaced plastic insulation strip with piece copper insulated board, attached to chassis with nylon bolts.
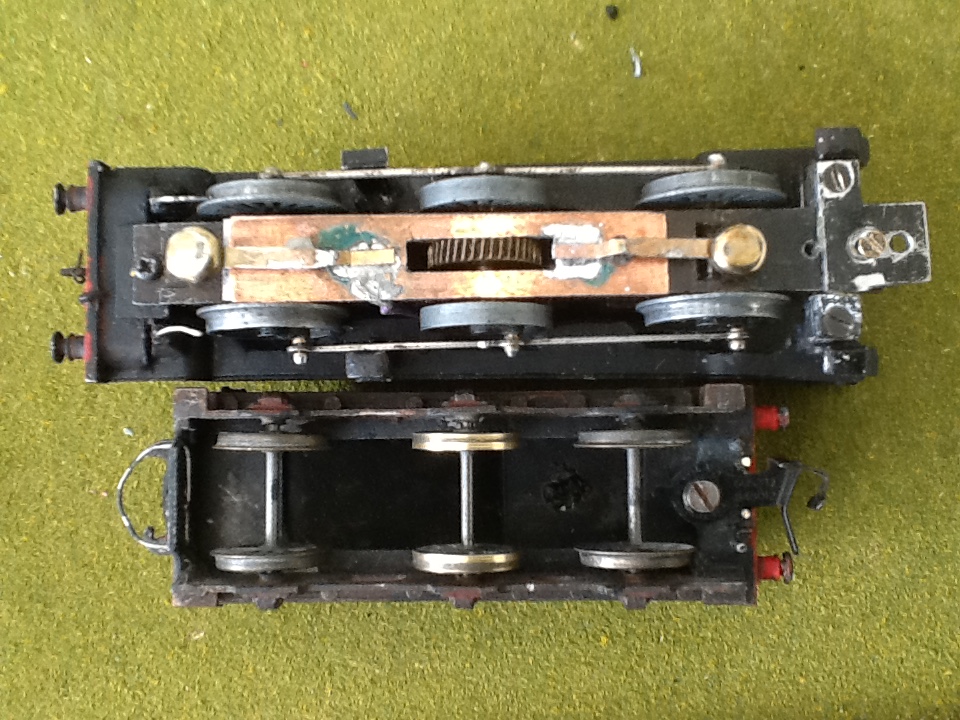
Finally, he used brass strips soldered to board and envelope fasteners and with some tweaking to get improvised “shoes” to connect with rails, my J39 works well!
Martin was pleased too as he’d never done anything like this before, so many thanks for your pictures which helped a lot!
Converting a 2rail Mainline Collet to 3 rail
Richard sent me the following details of his conversion
I thought I’d send you the results of my attempts to 3 rail a Mainline Collett 0-6-0.
I’d been told that it would be a bit difficult because it is split chassis type, but actually proved pretty simple in the end
Here are the steps I took with friend Martin who is an HRCA member and is also quite a restorer of all sorts models not just old Dublo!
1) left side of chassis- unscrew tiny chrome bolt and rescrew in but with a couple of tiny fabric washers.
2) right hand of chassis- remove long black bolt from black left contact strip. Take care to hold contact strip in place as it retains in place spring and brush for armature. Solder wire to solder tag and rescrew in again with one or two metal washers.
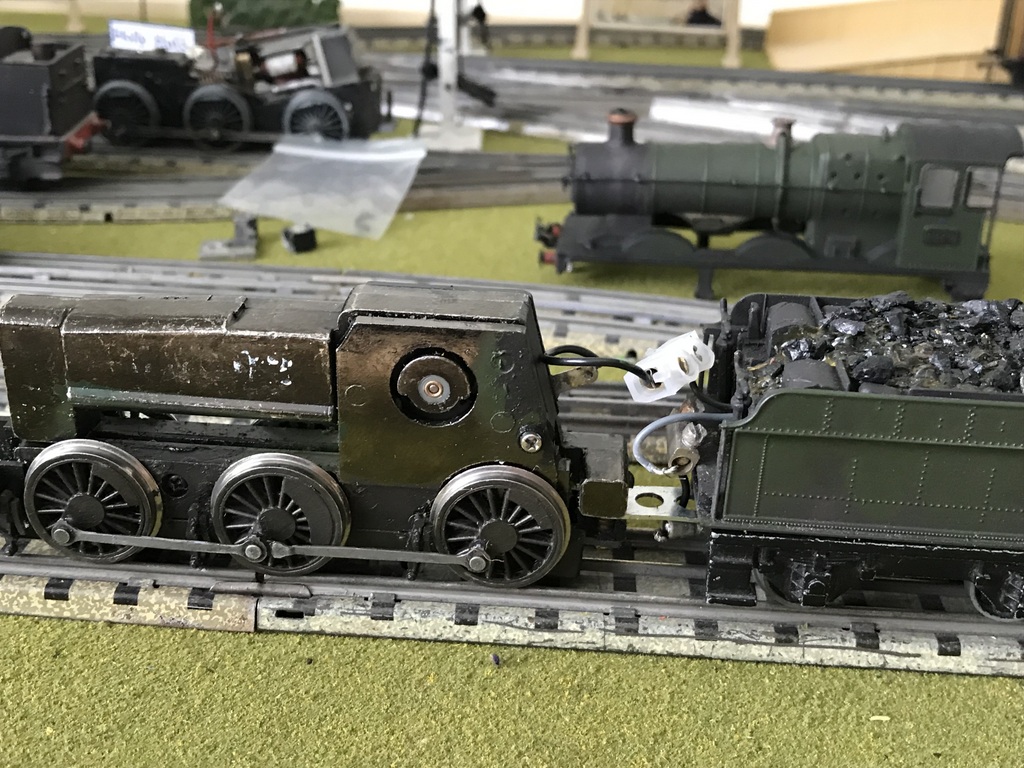
3) I used a Dublo 3 rail castle chassis and soldered wire from pick up mechanism to connect with wire that runs from solder tagged contact strip.
This particular tender had a second solder tag to the metal tender wheels as they had been insulated from base. That meant soldering an second wire which connects with a tag to a drawbar bolt under tender chassis. This effectually 3 rails the loco so no brief intermittent stopping over points etc. A “normal” 3 rail tender chassis doesn’t have this extra tag I think so wheels and body would just transmit electric contact via drawbar.
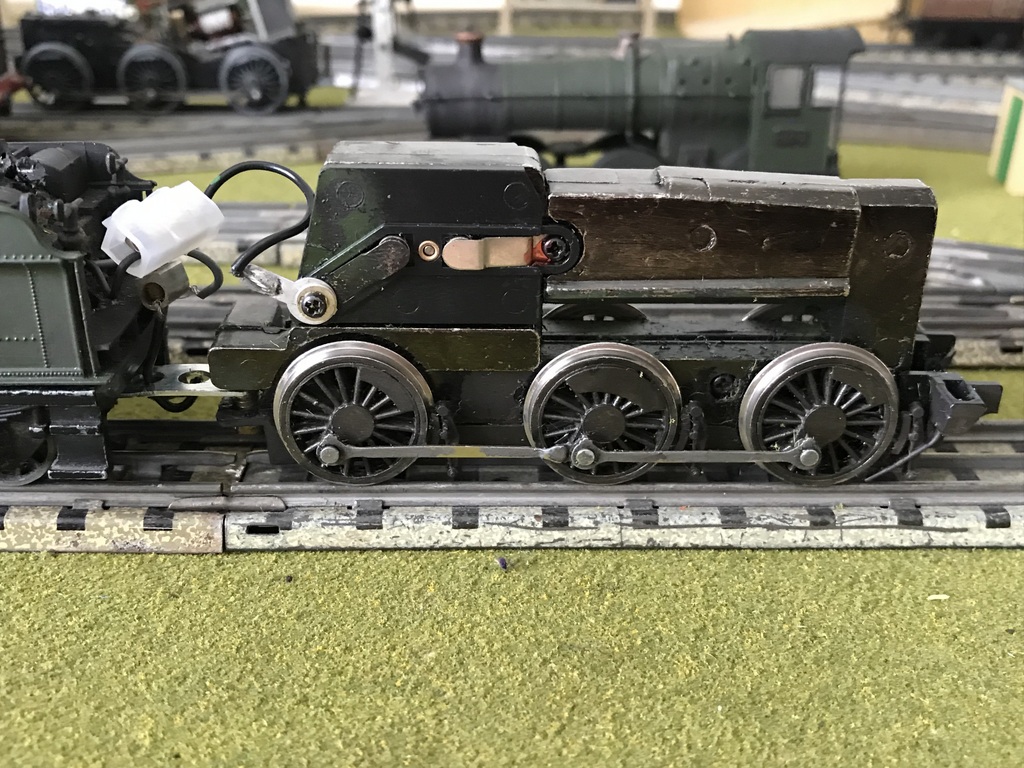
4) I just just small cable connectors which will tuck into cab and which I can paint black. The drawbar I made with a bit of Meccano, and used a Meccano bolt as a ‘pin’ under loco chassis. It’s held in place by the plastic cab under frame, but touches chassis base to give electric contact from tender chassis wheels
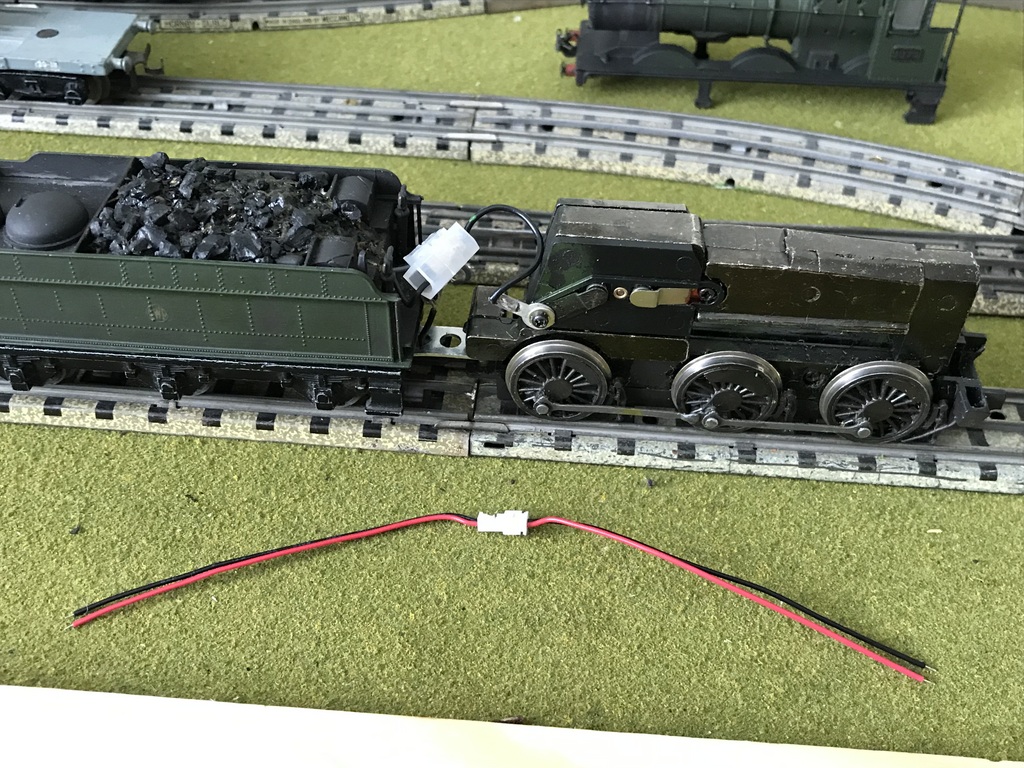
5) I then discovered at Model Rail Glasgow that you can get these tiny “plug connectors” which might make a neater job, though one modeller from Aberdeen Model Railway Society said he thought they’d be a bit finicky so he recommended sticking with small cable connectors! The older we get, we have less nimble fingers and poorer eyesight!
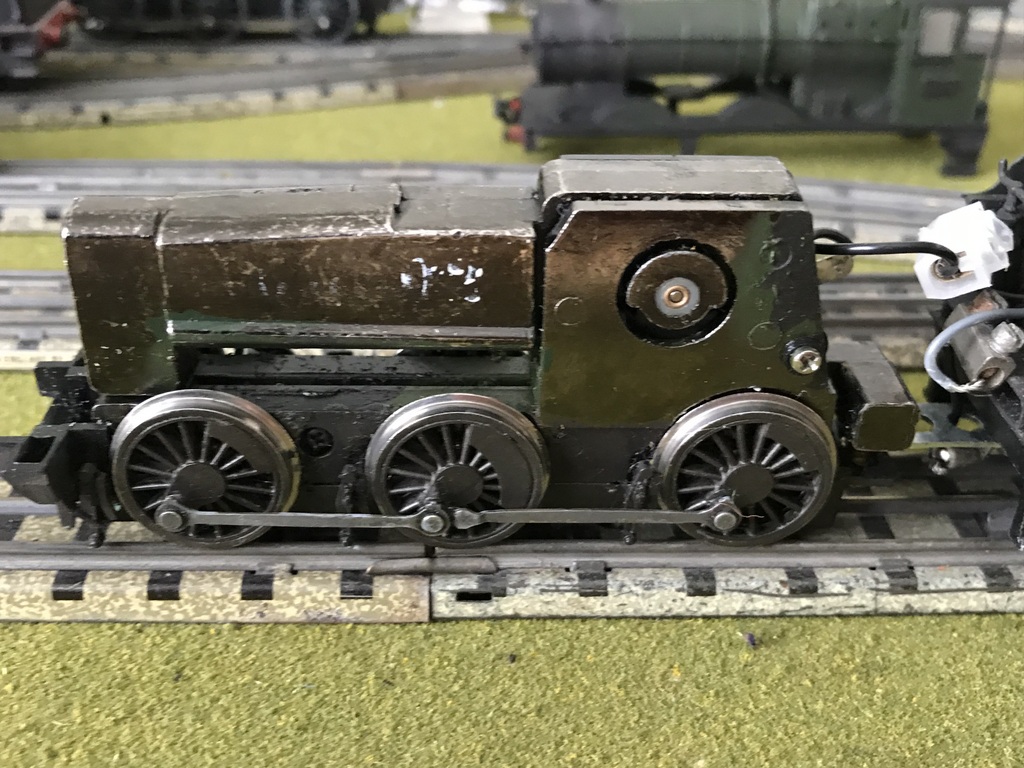
6) the original Mainline tender was cut from its chassis base and secured to Dublo Castle tender chassis with bolt and bits of glued plastic card to keep bolt it in place.
Damian a member of the Train Collectors Society sent me a couple of photos of a Mainline loco that had been DCCed. That’s was a very helpful guide as to figuring out split chassis electrics. Certainly lot easier with an “open type” armature of Triang type!
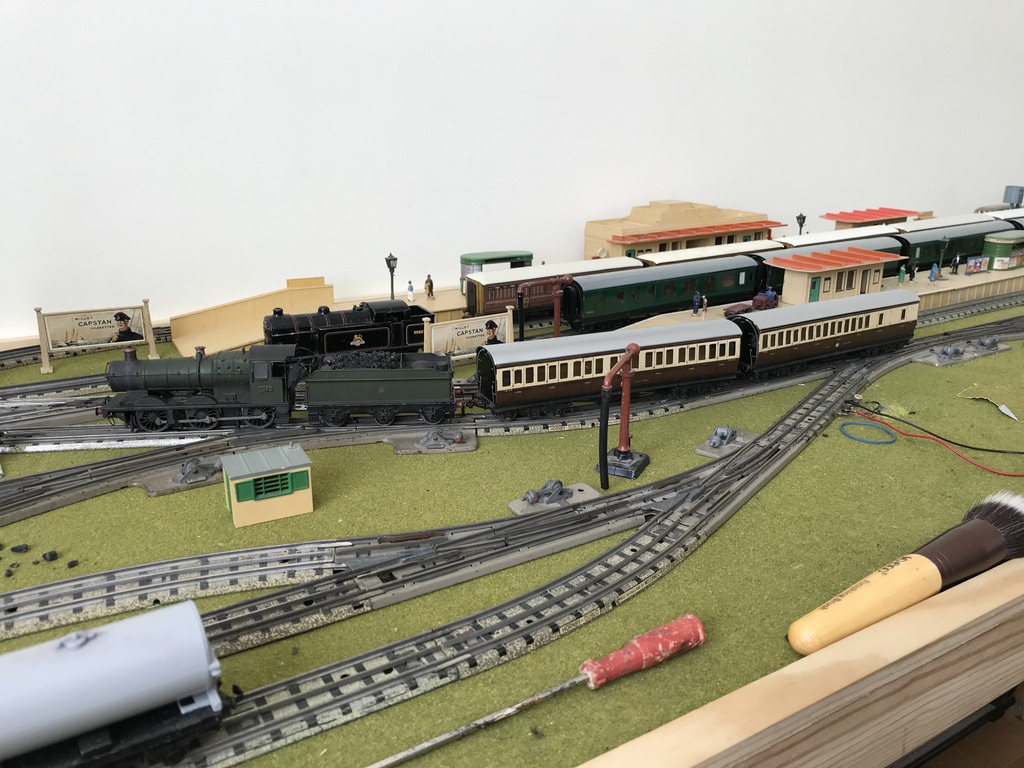
Anyway, works well and looking forward to reassembling and using it on a GWR goods or local passenger. Will send photos.
Hope this might be of help, I’m sure someone with more electrical know how can make a much neater job!
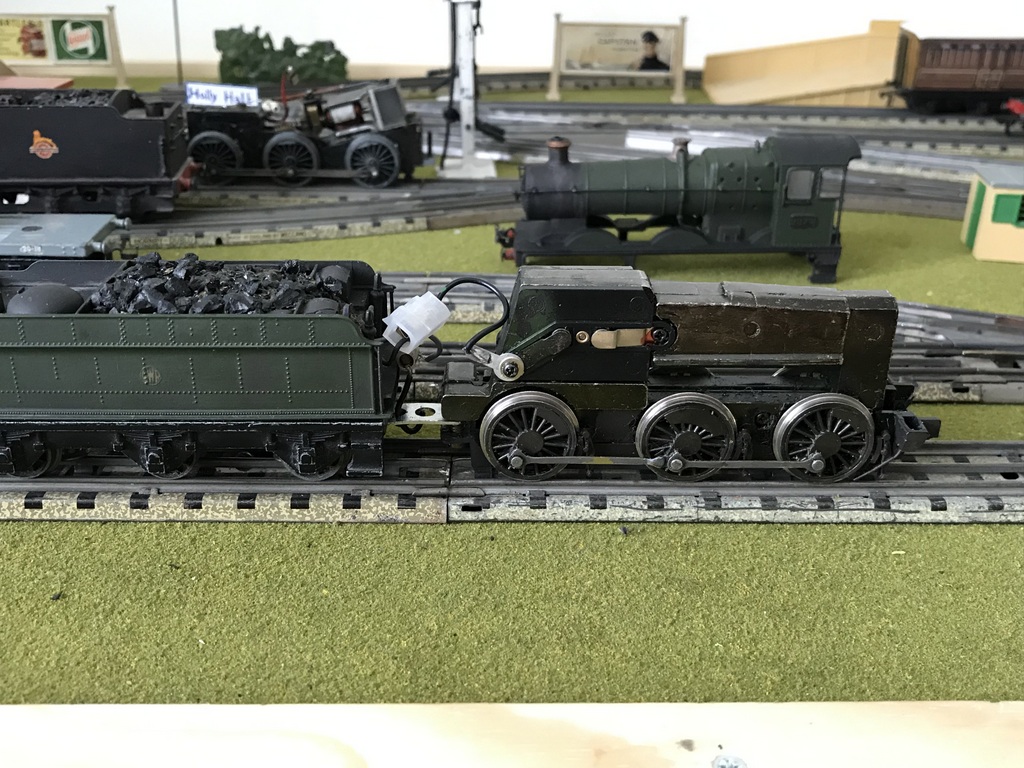
Here’s some photos of my reassembled Collett 0-6-0. Pretty finicky as Mainline body very tight so needed to file a wee bit of internal sides. But amazingly it works fine apart from discovering that rear tender pick up spring is a bit weak. Will have to get another!

The coaches are scrap and rusty D14 suburbans which I repainted by hand a couple of years ago
With tiny transfers – with help of magnifying glass!
Mainline locos have plastic axles which I hadn’t foreseen and are prone to breaking so will see how long it survives.

I’ve found an old J39 0-6-0 metal kit in bits but with a Triang jinty chassis. I’m wondering how to tackle that now, can you pass my request on to your friend Ray? The tender is complete and I’d have to saw it from its base to try and get a Dublo tender pick up in, but maybe there’s a simpler way if loco chassis is possible to 3 rail.
3 Rail Conversions
Back in the day only a few years ago 3 rail conversions were frequently on sale on Ebay. and they were usually cheap, around £40-50 at the most. A chap called dublobear was prolific and his conversions were excellent runners and very varied but unfortunately he died about 3 years ago. There were others and my running collection has a lot of these conversions bringing added interest to the rather restricted HD range, But now things are changing. Are there more people running 3 rail and looking for them or are there fewer people doing the converting. Whatever. The result is that 3 rail conversions on Ebay are now attracting what is to me silly prices.
I suppose my first 3 examples are not really conversions but just a Triang body on a HD 3 rail chassis but at a price
Triang Hornby Dublo 3 rail Coronation Streamlined (Blue) £122
Triang Hornby Dublo 3 rail Coronation Streamined (Maroon) £147
Triang Hornby Dublo 3 rail Coronation Streamlined (red) £155
All three are Triang bodies on a Duchess of Montrose chassis which if compared with a true HD conversion – Hornby Dublo Barnstaple 3 rail conversion £87 seem to me to be very expensive but they do have a genuine HD chassis so should run OK. I missed that Barnstaple listing as I think that I might have bid even though I do have a Dorchester – that’s a decent price for a very tidy loco – you can never have too many Bulleid pacifics.
To me the most surprising conversion is that to a HD R1 0-6-0 loco which was only made in 2 rail but can easily be converted to 3 rail 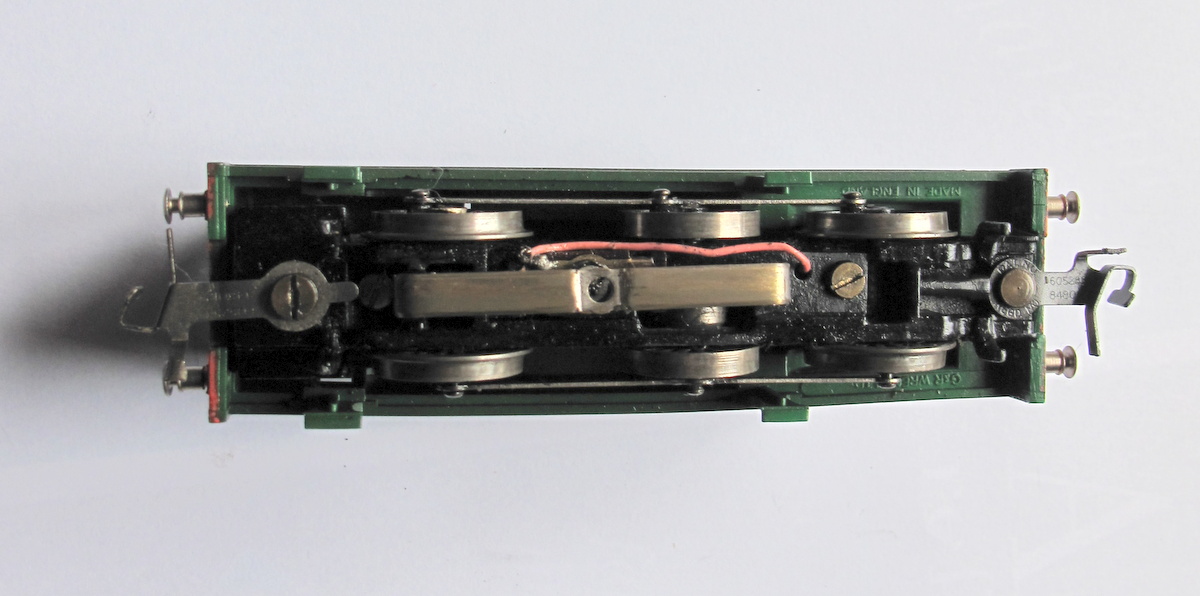 using a Marklin sled or even the ubiquitous springy bits of copper. (these simple conversions are pictured in the conversions section of the website), Three 2 rail locos are currently available for under £30 and another couple under £35. Amazing then that 17 people bid and one paid £85.77 for a conversion to 3 rail- truly amazing. Even I can do these conversions and I have more thumbs than fingers.
I have 8 of these chassis, 4 under HD plastic bodies, 2 under Gaiety 0-6-0T saddle tanks and 2 under Graham Farish tanks. I don’t think that anyone of them cost more than £35.
There is money to be made out there doing these conversions
Hornby Dublo 80th Anniversary
The anniversary has been celebrated by Ronald Dodds with a series of videos.
Ray’s Videos
Talking of most expensive purchase,this my Wrenn Royal Scot which i bought a few weeks ago & converted to 3 rail hauling a rake of refinished Trix Mk1 coaches.
Whilst on the Trix theme, I thought you may be interested in my Transpennine unit running on my HD 3 rail layout.
A Wrenn Spamcan converted to 3 rail using a Marklin skate.Clearances are very limited on these locos,you can`t fit a Hornby dublo collector unit unless you alter the chassis.I do have two of these locos.
A modern Hornby 2BIL converted with a Marklin skate under the trailer car & power fed through to the power car via a plug & socket.I do have photos of all my conversions but i can`t post them on here.
A Hornby 9F railroad loco drive since modified with a Dublo 8f 3 rail tender
And finally for now,an Airfix tender drive Royal Scot with a Marklin skate under the loco.Sorry about the radio,i forgot to turn it off!!.
Isolating Points
A question raised in the latest comment.
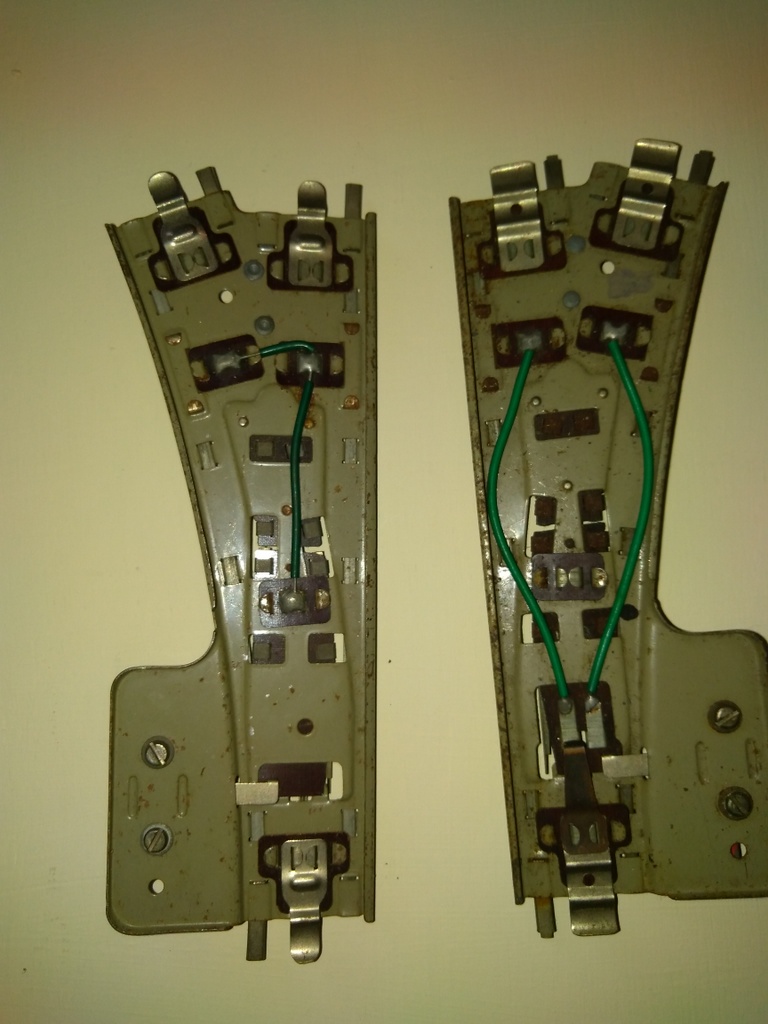
The point on the left is non isolating and the one on the right is isolating.
Isolating
When the point is switched to the main line the turning to the right in this case is isolated and an engine can be on this line but is dead.
Non isolating
Both the main line and the turning are both live regardless which way the point is switched. Trucks can be left on this line but not an engine as it would be live to the controller.
Instructions