Controllers

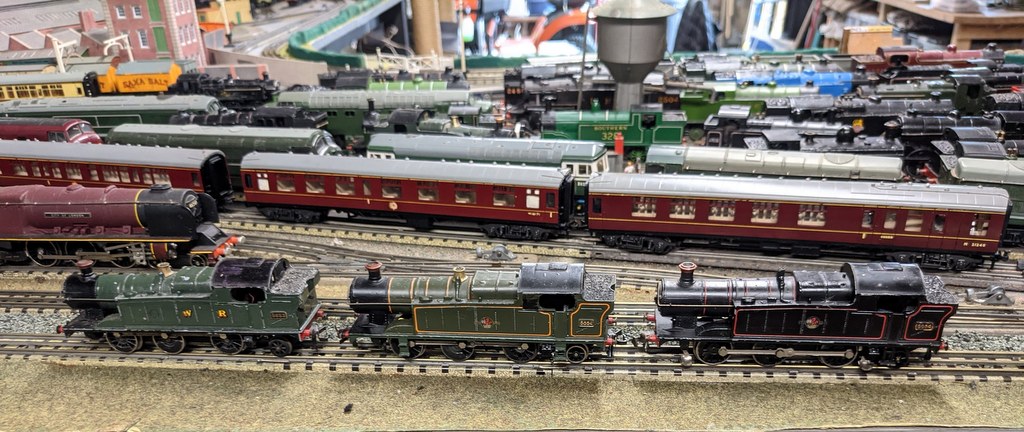
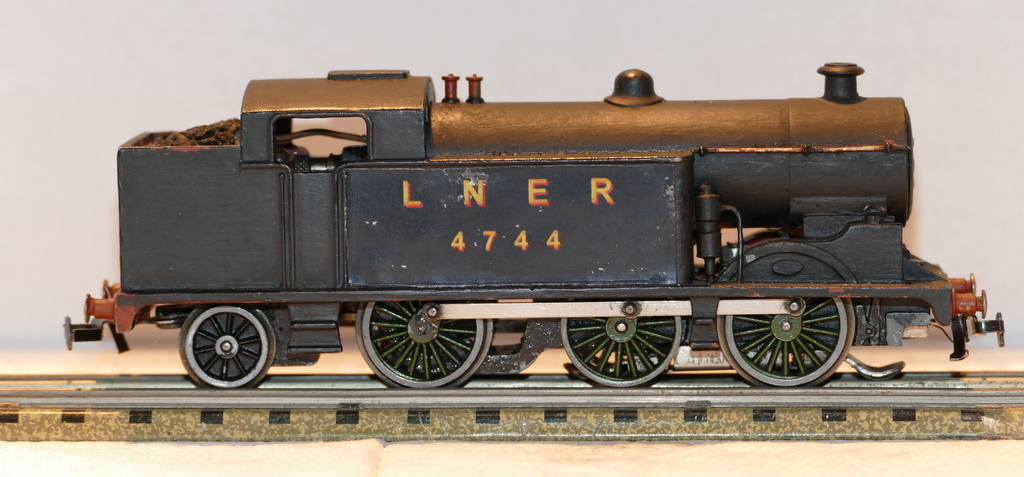
Richard asked me what controllers do I use and what would I recommend with slow running in mind.

Lets start with the history.

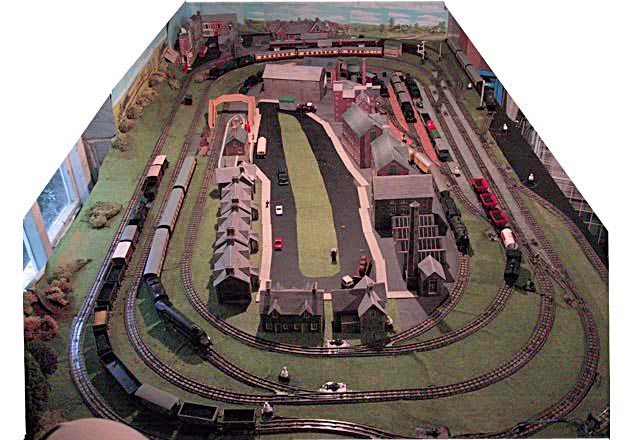
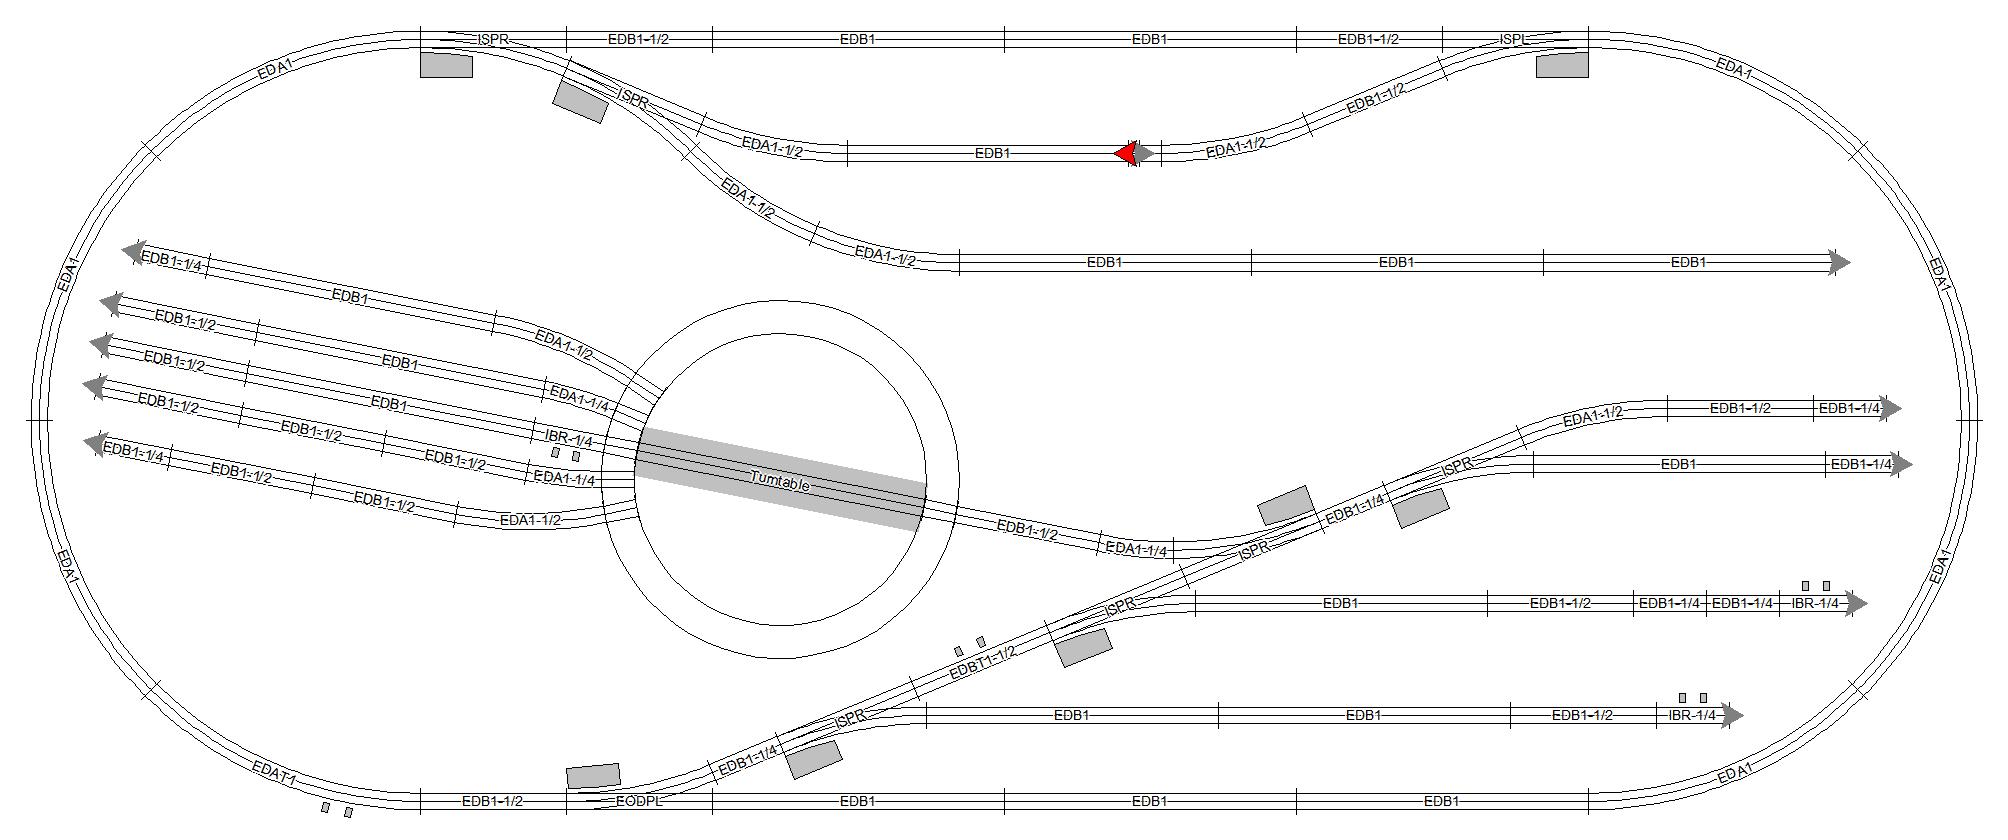
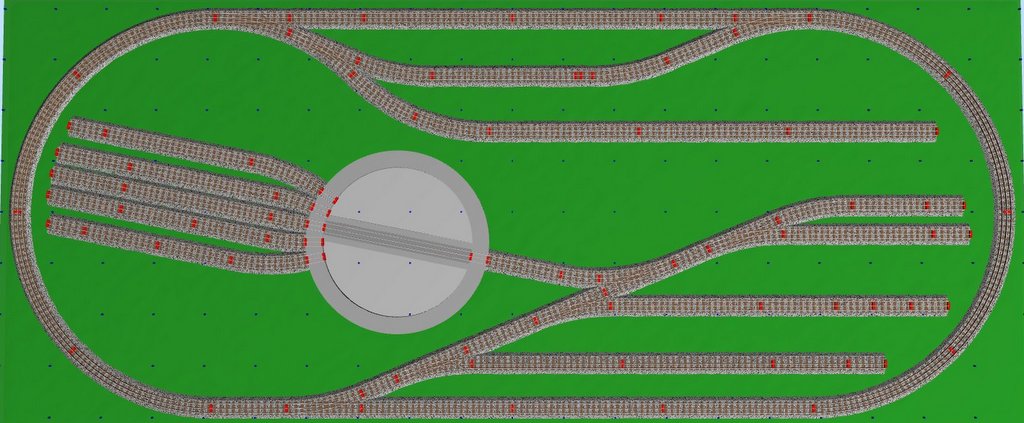
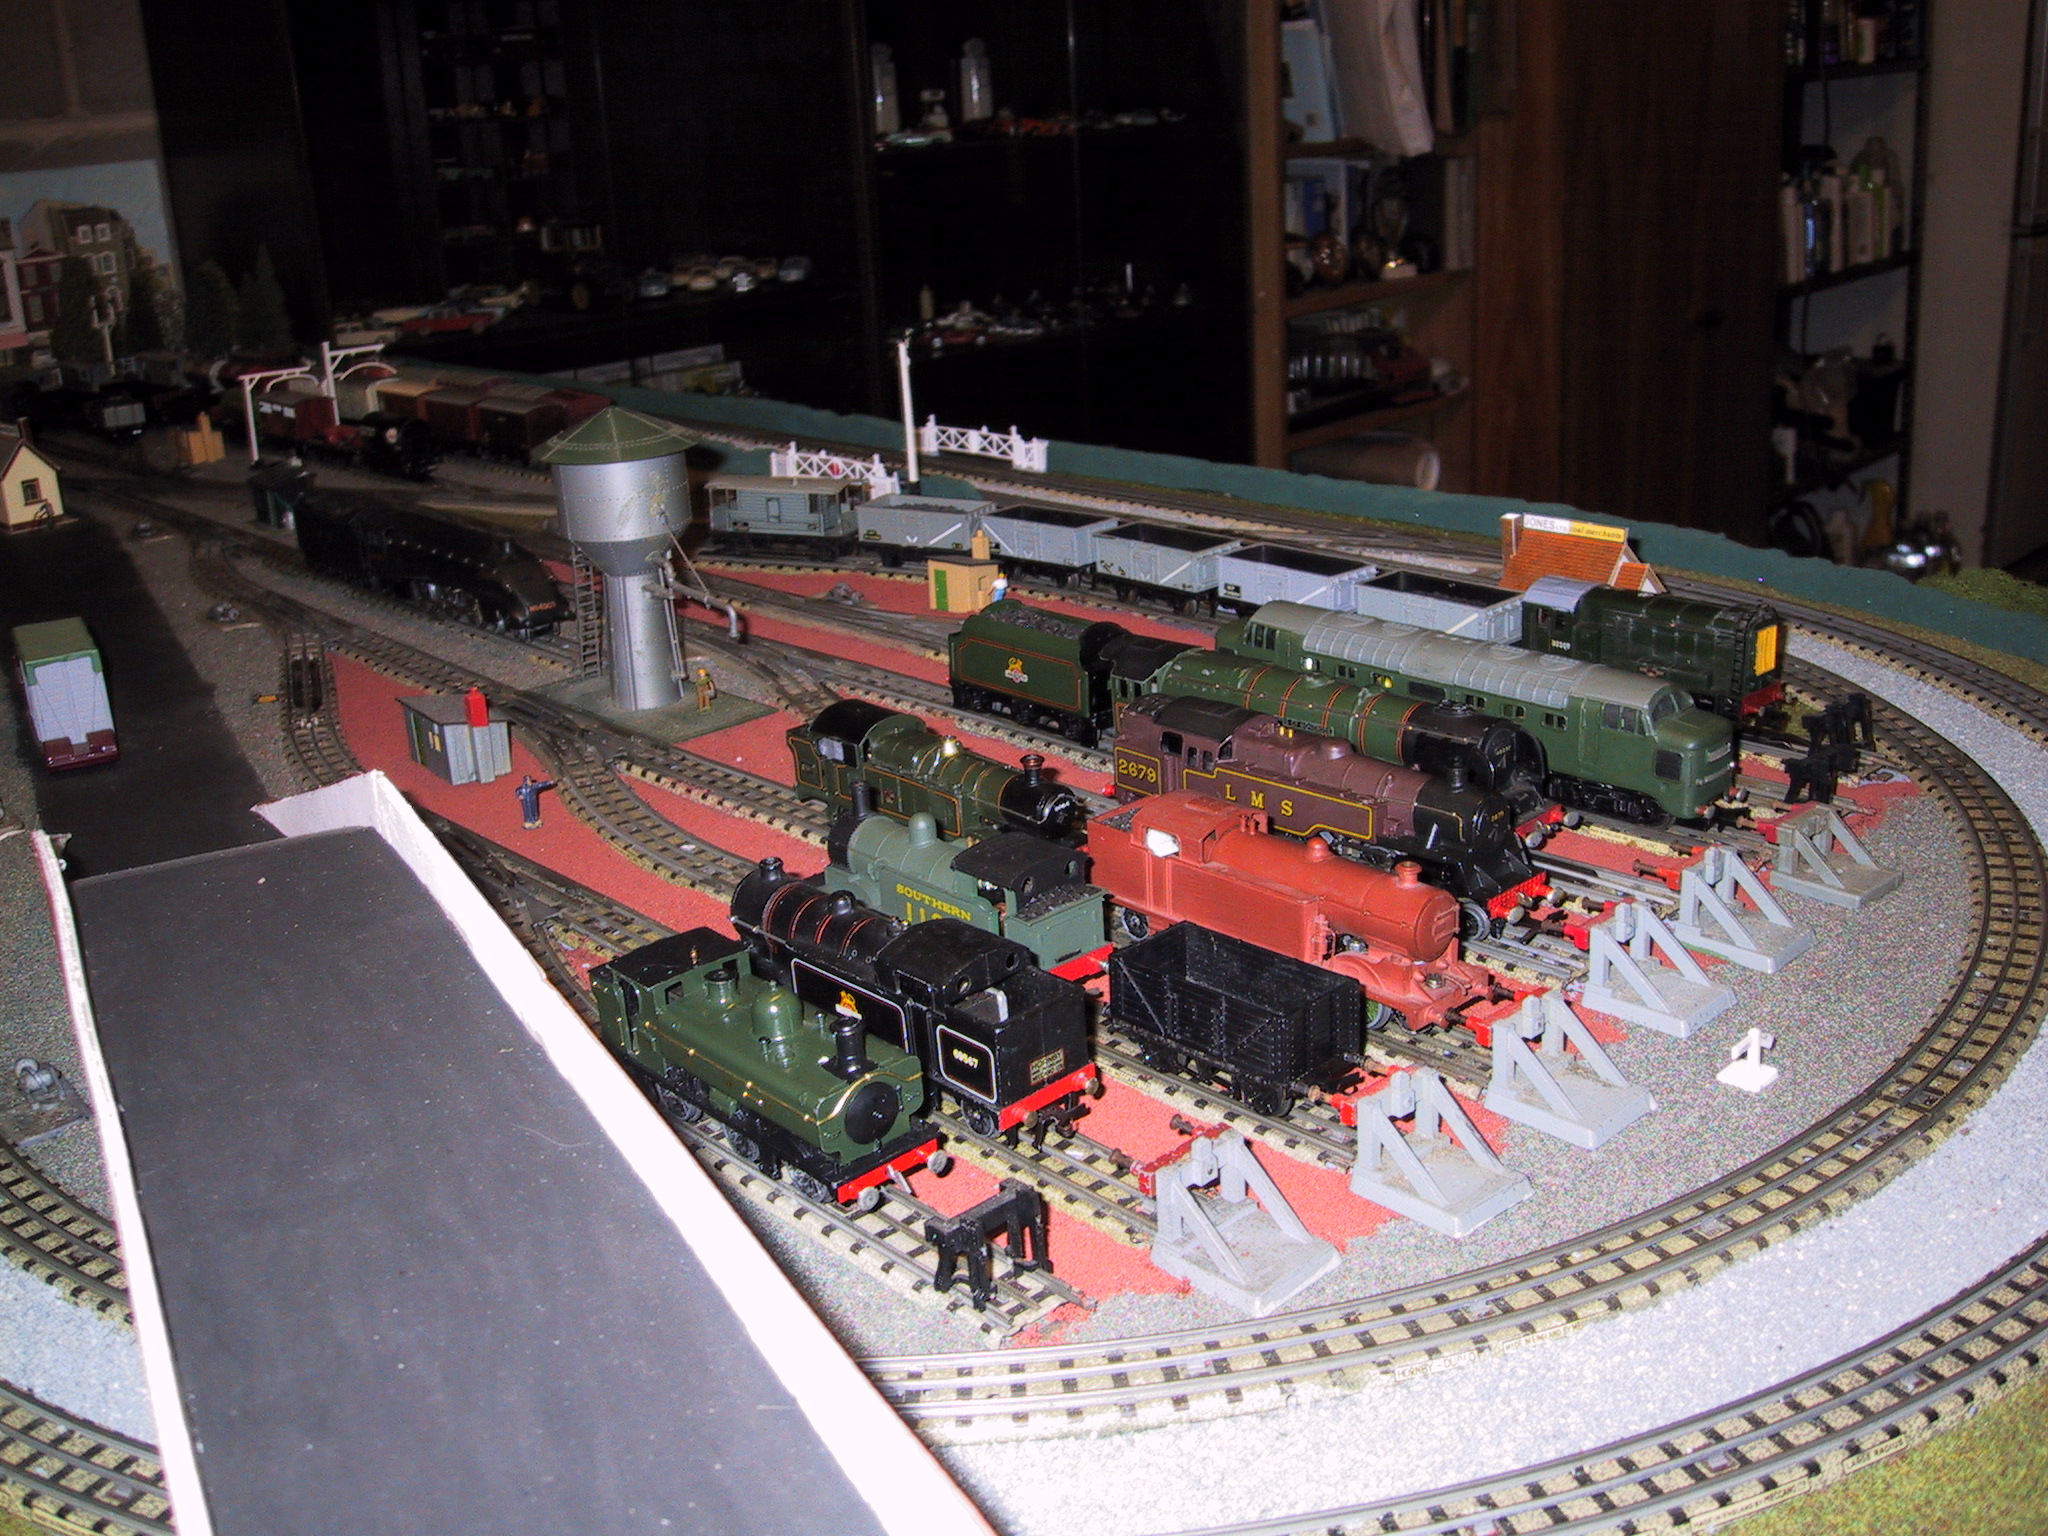
Three interlinked ovals all operated by HD A3 controllers. The inner track remains the same but the two outer tracks have been lengthened 3 times so they are long. Intermediate controller to track extensions were added as the track was lengthened to reduce voltage drop. Each of the long tracks has 3 additional connections to the controller.

The inner track is still operated by the original A3 controller – that is over 21 years.

The A3’s on the outer tracks were replaced by an H & D Duette following a failure. This lasted for some years and  failed but was replaced like for like but the replacement failed pretty quickly.

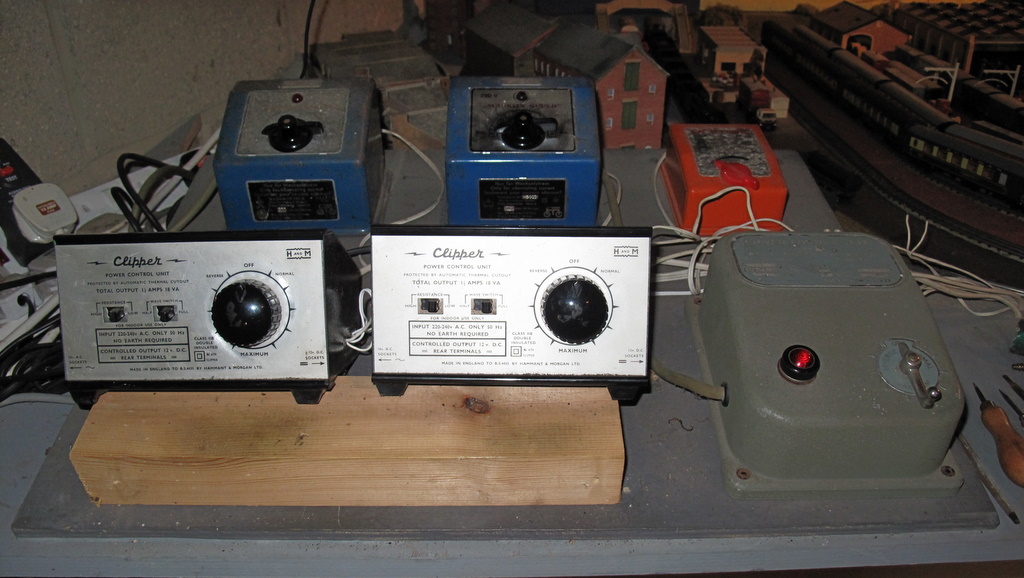
(Note the controllers in the background are Marklin 14V AC as I have a couple of old Marklin engines. At the moment only one is in operation)

The Duette was replaced by 2 H & D Clippers which are rated at 1 1/4 amps compared to 1 Amp for the Duette. After 2 failures and replacements I decided to go for something modern.

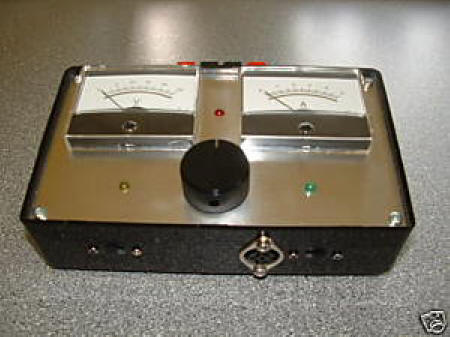
I chose a controller from Superneomagnets 

As you can see this has built in meters for voltage to engine and the amps being consumed. The latter is very good at diagnosing a potential problem. All my HD engines run from 0.2 amps to 0.6 depending on the engine – this does not increase with voltage but can go up a little with a heavy load. Any engine pulling above 0.7 amps should be checked over.

There is always an exception as I have a Bo-Bo which has always pulled 0.9 amps when running and it has been doing so for about 10 years.

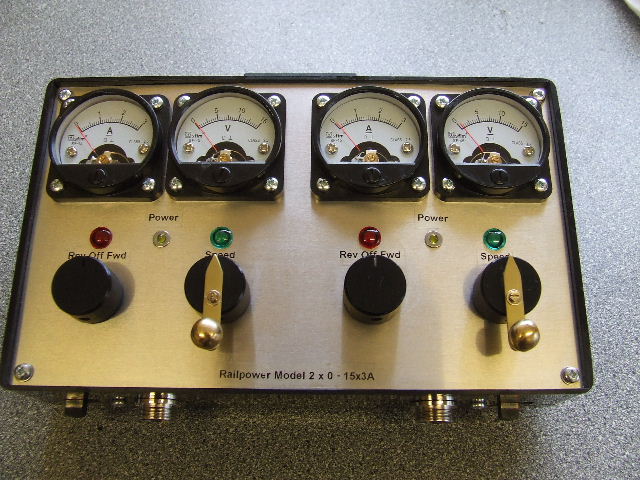
This controller initially had some teething problems which were all fixed at no cost but the controller had to be sent away. So out came the remaining working clipper and I added a Trax handheld feedback controller based on Ron Dodds You Tube video. This worked well but did not have the power of the H & D (i.e – the trains ran slower) and at low speed some of them made a strange jangling noise possibly caused by the fact that these are feedback controllers. However I did buy a second one which I still intend to use to replace the A3 controller. Its just taken 5 years and still haven’t got round to changing it – if it works leave it alone.

The remaining Clipper is used in the maintenance and test area.

I have no experience with any other controllers.

That’s what I have but I decided to try and be a bit scientific before making any recommendations.

The HD A3

Controller Position Voltage direct from controller Track Voltage No Train Track Voltage train running
         
HD A3 first position     9.3
  Mid position     13
  High position     15.9

This is sort of a controller with a max output of nearly 16V – where did that come from? I thought that this was clearly a broken one like my other 2 so not really worthy of comparison, I asked Richard to carry out a test on his A3

Richard’s first position   14.3  
A Mid position   14.3  
HD A3 High position   14.3  

So I retested by A3 with no train running

HD A3 first position   15.9  
  Mid position   15.9  
  High position   15.9  

So with no train running the controller gives maximum voltage to the track at any position on the control handle. What is the physics behind that? And the answer is a rheostat. The A3 is a rheostat based controller which varies the current applied to the track/engine not the voltage. The high voltage output of these controllers could be an age/wear factor but might not be, it could be that they were designed that way, They are 70 years old so perhaps we will never know.

H & M Clipper

H & M Clipper Position 1 1.1    
  2 2,6    
  3 7,7    
  4 12.6    
  5 14,2    

A reasonable degree of control but an interesting 14 volts at max output. This is my test unit so not connected to any track.

H & M Duette

H & M Position1   0.2  
Duette 2   2.1  
  3   6.6  
  4   11.8  
  5   13.7  

A good control of track voltage but with nearly 14 volts at max.

Trax handheld feedback controller

Trax Up Line Position 2   1.2 1.8
  4   8.2 6,4
  6   10.8 8.1
  8   11.5 8.8
  10   11.8 9.6
         
Trax Down Line Position 2   1.5 2.3
  4   6.2 6.6
  6   11 9.4
  8   11.7 10.2
  10   11.9 10.5

A slow movement on position 4 with some of my engines but not something I worry too much about. It is definitely a 12V controller with not a lot of change between positions 6 and 10. No Mallard record on these controllers and a “jingly” noise below 6 on some of my engines – which would not be as well maintained as Ron’s.

Superneomagnets controller

Superneomagnets controller
Down Line  
Volts shown on meter Actual track voltage No train Actual track voltage train running
     
2.5 2.2 1.7
5.0 4.8 4.4
10.0 9.5 9.4
12.5 11.8 11.8
14.0 13.6 13.0
     
     
Superneomagnets controller
Up Line    
Volts shown on meter Actual track voltage No train Actual track voltage train running
     
2.5 2.3 2.3
5.0 4.9 4.1
10.0 9.5 9.2
12.5 11.9 11.8
14.0 14.0 13.2

Good slow speed running with an added boost at the top end for a bit of express passenger running. I bought mine back in 2014 along with the hand helds, an option, which I found very worthwhile, Allister Hughes is still making them but they now look more up to date

If I had 2 working clipper controllers I wouldn’t change them. If one broke I wouldn’t replace it as you would start the same cycle I got into.

Trax is very cost effective, 2 hand helds and a transformer for under a £100. The transformer gives 2 outputs at 15 volts AC at 1.5 amps. A single handheld with single transformer is under £50. And you might not need the transformer as both the A4 and the clipper provides a 15V AC outlet at 1 amp and 1,25 amps respectively which could be used to power the Trax handheld. If you are only running one HD train then either will do but if you want to double head then you will need at least the 1.25 amps. The Superneo controller allows 2 amps so plenty of headroom. Most of my 0-6-2T’s, 2-6-4T’s and 0-6-0T’s run at around 0.4 to 0.5 amps as indicated on the controller.

I have never tried Gaugemaster controllers.

Both the Trax and Superneo controllers allow for very slow running but slow starting from stationary  is much more dependant on the engine than it is the controller. Some engines will start slowly and speed up with the controller others need a “voltage spurt” to get them going but probably all down to maintenance and age

For my motley and large collection of locos the Trax is a bit weak ((pulling power and speed) but adequate but I would not change my Superneo controller – powerful and it shows the amps the engine is using so a great safety tool for not burning out armatures.  


Johnson 1F

Designed by Samuel Johnson the 1F was introduced in 1878 by the Midland Railway and the last one was withdrawn in 1966. It had a half cab and the last ones in service retained this “feature”. There is one, 41708 in preservation.

The 1F was also rebuilt with a Belpaire firebox as the LMS 3F (Jinty) and some of the original 1F’s were also fitted with this firebox including 41712 and 41708


So a rebuilt 1f and a Jinty were very similar apart from the half cab.

So my purchase of a Triang Jinty modified by cutting off half of the cab is a fair representation of a Johnson 1F. 

It has been converted to 3 rail using HD CoCo pickups and runs very well although like any plastic bodied conversion pulling power is not its strong point but ideal for a short goods or a 2 carriage branch line train.

41712 was destined to go into preservation as it was the last 1F overhauled in 1963 but was scrapped before the preservation society could raise the necessary funds so 41708 was chosen instead

All in all a good purchase and nice little runner

GWR U1 ex TafF Vale

The Hornby Dublo  0-6-0 chassis with the inch and a half motor was the basis for many kit builders

Wills Finecast

  • F101 S.R. E5 (ex L.B.S.C.R.) 0-6-2
  • F108 S.R. G6 (ex L.S.W.R.) 0-6-0
  • F111 G.W.R. V1 (ex Taff Vale) 0-6-2

K’s of Willesden

  • G.W.R. 97XX 0-6-0
  • L.M.S. 3F 0-6-0
  • L.N.E.R. J50 0-6-0

The J50 I recently added to my loco fleet features here

This month thanks to ebay I added the GWR V1. This was a very speculative purchase as the pictures showed no pony wheels and did not state that it was on an HD chassis even if the picture of the box showed that it should be. Anyway I took a chance and got it at a very good price. When it arrived, in the original box, it was clear that the pony wheels assembly had broken but the seller added a suitable pony set up . So the new pony wheels which were on a plastic carrier were added – not quite right but reasonable, the chassis, which was an HD 0-6-0, was 3 railed with a Marklin skate and nylon bolt to prevent shorting, The original 2 rail pick up was rewired to earth and the bottom of the skate insulated to prevent contact with the 2 rail pick up wire. The nylon bolt had a thick screw head and this had to be filed down to ensure that the skate had the maximum clearance. A little more filing is necessary as it stutters on the X crossings with their higher central section. I added coal to the bunker but the engine is still minus its handrails which I need to work on.

The one thing that you can’t see from the pictures is that the pony wheels don’t actually run on the rails, they hover slightly above. Adding some weight to the plastic pony just lifts the front drive wheels so I am going to live with them just not touching.

XTrack or Scarm

Stephen sent me a question which I thought might be of interest to new readers so I have included it here with my reply

What great find this site is!
I am resurrecting a childhood Dublo layout for my son; it is interesting and exciting that there is more info around these days because of www than in the 70’s.
One question – the above page refers to xtrackcad software for planning layouts and i followed the link to have a look at it… It would seem that you need to be a computer programming whiz to set up xtrack… umpteen downloads, unclear “build” instructions, strange programmes, etc. Is it just me or this software is way beyond the abilities of the average computer user?
Cheers

Stephen, Many thanks for your kind remarks. It was a long time ago that I used Xtrack and I do remember that it was clunky in the extreme and very important that that the track you used was HO which of course HD runs on. I changed to Scarm as soon as it was available. It then went behind a paywall but they now do a freeware download which is very adequate for most purposes. I would suggest you switch to this programme. It still takes a bit of learning and application but is basically more simple to use. Like all of these CAD based programmes it can be very frustrating when you can’t attach the right rail in the correct place but it seems that practice helps. You can spend happy but sometimes frustrating hours producing your ideal layout. I did think of doing a portable layout based on an internal door (the largest width available from B & Q) but moving a door around in a hatchback is not easy so I gave it up but did produce a Scarm version of a possible layout and I found that it was pretty easy to use although frustrating until I got the hang of it again. The results are 

The red arrow on the top loop indicates that the two rails do not meet exactly – you could either spend a lot of time getting it right or just take advantage of the fact that in reality they will join together with little or no problem. Although HD track doesn’t look at all flexible there is in fact a little give which can be used in these instances.

Just a hint to start with. To get to HD go to the top LHS side of the page just below the icons there is a dropdown menu, click on this, go to Hornby(4) click then you will find HD 3 rail – click on this and you are ready to drag, drop and join the rails, points etc – good luck

New Additions to fleet

So over a period I have updated Brian’s Northern Heights layout (latest one is below), added videos from Ron Dodds and Ray’s Layout and 3 rail conversions but what have I been doing? – trying to act as normal as possible as we went (are still going through) our last 2 lockdowns. In November I bought a Ron Dodds re-magnetizer so have been using this to upgrade my fleet and get them all running in the same direction. The magnetiser works on HD, Trix and Triang XO4 motors so has been very useful.

Oh yes and I bought another couple or 4 locos because at the prices it would have been rude not to.

The first was a K’s kit (Keyser) of a LNER J50 especially made to use the HD 0-6-0T chassis.

I gave it a quick repaint in satin black but it needs transfers. Amazingly it is a good runner – amazingly because it only has one pickup but is helped that all the wheels are non insulated

The second addition was a Trix 0-6-0T E2 tank engine converted to 3 rail.

This is not a bad runner but it does hesitate a little over trailing points. I thought that grounding the isolated wheels would stop this as it does with normal conversions. My use of silver paint to ground the insulated wheels resulted in a dead short as the chassis is live on Trix not earth as HD. Off came the silver paint so the hesitancy remains;

I already have one of these but it must have been an earlier version as the wheels are solid (with spokes added) whereas the new has proper spoked wheels. The solid wheeled one

Then came a 3 railed Hornby 0-4-0T Southern shunter. No good reason but it looked nice, runs well but with so little tractive effort 1 plastic coach or a couple of wagons is its limit.

The coach is a Graham Farish (Grafar) GWR suburban as the engine still has its Hornby couplings as they are moulded into the chassis.

And then a Trix 0-6-2T was available very cheap so it too was added. A genuine 3 rail version so it runs well 

Not at all sure why the previous owner painted out the G of GWR but it is there under a blob of paint. This then joins the stable making 3 of these engines

Br (SR) Class 73 conversion

The latest conversion from Ray

Another unusual loco to my SR fleet.A Hornby Class 73 electro-diesel. It`s got a home produced p/up assembly consisting of a 6mm wide x 5 thou brass strip with drawing pin heads for the collectors. All these locos being DCC ready have to be rewired to operate on 3 rail correctly. The pics should help show it was done.

And a video of it running

HD Layout 2020

So as promised

I was surprised how slowly you had to run the trains to make the action look remotely sensible.

Joining the small bits together was easy as was cutting out bits I didn’t want although the final video is a bit jerky moving from one section of the track to the other,

This is a total overview of the layout and features the two neverwas locos of the previous two posts plus running on the small inner circuit the Dinky Toys 0-4-0T  although the Duchess of Atholl also gets a look in. The Dinky Toys loco is a metal bodied push along with a Triang/Hornby chassis converted to 3 rail. Goes very well

Looking at other videos I need to get closer to the action so perhaps if there is another that will be the way forward.

No commentary just the lovely rattling noise.

Another neverwas

Here we have an N2 which I repainted badly and added a LNER sticker but do you notice the differences

Well the person who made this body took a standard N2 and cut out the boiler completely including the filled in bit that joins the bottom of the boiler to the front wheel splashers. He then fabricated a new boiler, adding new safety valves direct into the boiler (unlike the original which has the safety valves on a circular plinth) added a new dome but left the foundation ring on display and what looks like an original chimney. He then added a Westinghouse air pump just in front of the side tank. There was now a gap under the boiler between it and the chassis frame just like the prototype. He then painted it in red primer and then added fine handrails. Oh yes and he added a vent to the cab roof and put coal in the bunker.

So it looked like this

Sorry about the picture quality but it was taken back in 2005 but you get the drift. I bought it from Mike King a friend and dealer who lived in Christchurch just as you see it.

Now he (could it really have been a she) had spent a lot of time producing the body and to make it effective it had to use an early horseshoe magnet chassis as this enabled the gap under the boiler to be seen. The later N2 chassis would have had part of the motor visible.

So when I bought it had an early chassis with green wheels on one side and black on the other. it hardly ran but it did. So why after spending so much time and effort on the body 

  1. He didn’t paint it
  2. He put it on such a crappy chassis

Anyway it stood in a siding on my layout for many years

I had improved the running by switching to a neo horseshoe magnet but the running was no more than acceptable.

As the number of locos on the layout increased leaving this in a siding with little or no running became a problem. So I did a quick and nasty matt black paint job, added an LNER sticker and installed a new armature and low behold it became a standard N2 excellent runner. Why did it take all that time

So there we have it. A unique (surely no one else would have gone to all that trouble with the body) Neverwas N2 which runs well but has a mismatched chassis and a terrible paint job.

And a final question did an N2 ever have a Westinghouse air pump? I am off to Google to search their images


Neverwas or Neverwazza

Perhaps my definitions are wrong but as there is less to do now that we are in lockdown lets discuss.

My definition was that a Neverwas is a model railway engine that is not a model of an actual prototype. It could also be called generic or freelance. In the very early days these were common many of the Hornby 0 gauge range came under this definition. Then there were the HD 0-6-2T models discussed in the last post. HD also did the Atholl fitted with a cowcatcher and light and liveried as a Canadian Pacific loco although it never resembled anything that they ran.

Triang did the dock shunter and the continental range with no reference to an actual prototype. Trix did an american engine which seemed to have no prototype.

So if that was a Neverwas then the term Neverwazza was applied to HD derived engines which were planned to be made by HD as described in Michael Fosters book, those could have been made and those that should have been made. Like for instance the Black Five shown here with a Castle chassis and wheels, 8F outside motion and a 8F tender with the 3 rail pick ups. It could have an 8f body as the black 5 and 8F were very similar but .this one has a Graham Farish body. Now that to me is a Neverwazza.

Meccano kept very up to date with their locos and by the time that they would have been able to make it the engine had been replaced the Standard 5MT and Trix were making that so they would not have bothered with an old LMS derived Black Five – but they should have done.

But

the HRCA  have a section on their forum which is titled Neverwas and includes just about everything that is not pure HD and of course the 0-6-2T and Canadian Pacific are pure HD locos even if they are not a model of a prototype. so they don’t apply to this section unless they are repaints. So this section includes newbuilds that HD never made,  repaints, coversions and includes carriages etc which have been repainted

So the HRCA officially has zero acceptance of the term Neverwazza

So my Gresley V1/3 is a Neverwas by their defintion – so no change there then.

I bought a Neverwas

I am not a railway enthusiast. I was never a train spotter in fact I had no interest in trains until I resurrected my childhood dublo in my 60’s and started playing with trains again.  Bu that is by the way but of interest as you read on.

The Neverwas  is not a Neverwazza or a conversion it is an engine which does not really represent a prototype.

In fact it was all started by Meccano when they first introduced Hornby Dublo back in 1938. They introduced the A4 “Sir Nigel Gresley”  which was definitely based on the prototype and four  0-6-2 tank engines. 

One of these was an LNER version which every one at the time said was a model of an N2, but HD never admitted to it, The LMS and SR versions used the same body and had no prototype locomotive anywhere near the same. HD altered the body for the GWR version but even this had no obvious prototype.

Thus HD introduced 3 neverwas locos which had no prototype and never admited to the N2 until after the war when they liveried it into BR and gave it a definitive N2 running number. 

So to the current, Ebay listed a 3 rail V1/3 2-6-2 by McGowan models, Re the first paragraph I had no idea what a V1/3 was but Google knows. It was a Greasley 2-6-2T 3 cylinder tank engine with Walschaerts outside valve gear and McGowan made the body for a Triang chassis which included the cylinders and the motion.

This is the BR version which must have come much later but the outside cylinders and motionn are obvious. Although as the motion was to come off a BR standard 2-6-2 there would have been no guarantee they they would line correctly or that he wheels would have been the correct scale size. Anyway,

The ebay version was this:

Other photos showed that it was an HD 0-6-2T chassis with an added front bogie. No outside cylinders and no valve gear.

The body looked in good shape and with an 0-6-2T chassis it should be an excellent runner and at the price – why not

So it was a neverwas – the body might look like the prototype but not the running gear but the hope would be that it was a good runner.

The first thing you do when a new loco arrives is put it on the track and see how it runs – they never run well but that  is where you start.

This one startered off at speed altough noisy but derailed its bogie within a foot and its pony at the first curve – not a runner then. The body under the tender had a hook at the rear which extended into the body and stopped the pony wheels from moving freely – cut off and filed down so that the pony moved freely and did not derail. But the bogie was a different matter. Nicely made with an accurate attachment to the chassis but with no weight it moved in all directions. This loco had been produced by a bodger and I was there to continue that, 

The bogie was a simple open topped box with a rivet at the bottom holding the connector in place, which was not firm and allowed it to waggle sideways. In these circumstances the bodgers bible says try something temporary first before getting out the soldering iron. So bluetack was pushed into the box making sure not to foul the axle. Much better but still jumped off at the slightest imperfection (points or X crossing). More bluetack plus two small slithers of lead sheeting pushed into it to add weight all done without fouling the axle movement. Result is an absolute succes running tender first, no movement off the rails, no derailing many circuits with no problems, Not sure I want to try it chimney first as this might be too much of a test, Anyway tank engines were meant to run tender first.


So now we have a neverwas bodged V1/3 with an inside motion that now runs very well as it has an N2 chassis – bit of a winner if you are a HD runner and not a railway enthusiast/rivet counter.

The body was well made and well preserved with no marks so looks good. Conclusion – good runner, good looking engine shame about the originality but who will ever know. Don’t you tell them.

So another runner added to the loco roster but with no room in the sidings one of the poor runners had to stand down. Last year I bought an Airfix 4F converted to 3 rail running. It was cheap looked nice and seemed to be well converted with an HD pickup but it was a tender drive and I should have reconsidered as tender drives often don’t work well on HD track. On arrival it worked fine but would not pull the skin off of a rice pudding. One Trix coach was its maximum. I cleaned the tyres thoroughly but it didn’t make much difference. So that is the one to go at the moment. I will probably try a new set of tyres just to see if it will improve but for the moment it is in the “to do” box. Shame really because it does look the part