
Richard sent me the following details of his conversion
I thought I’d send you the results of my attempts to 3 rail a Mainline Collett 0-6-0.
I’d been told that it would be a bit difficult because it is split chassis type, but actually proved pretty simple in the end
Here are the steps I took with friend Martin who is an HRCA member and is also quite a restorer of all sorts models not just old Dublo!
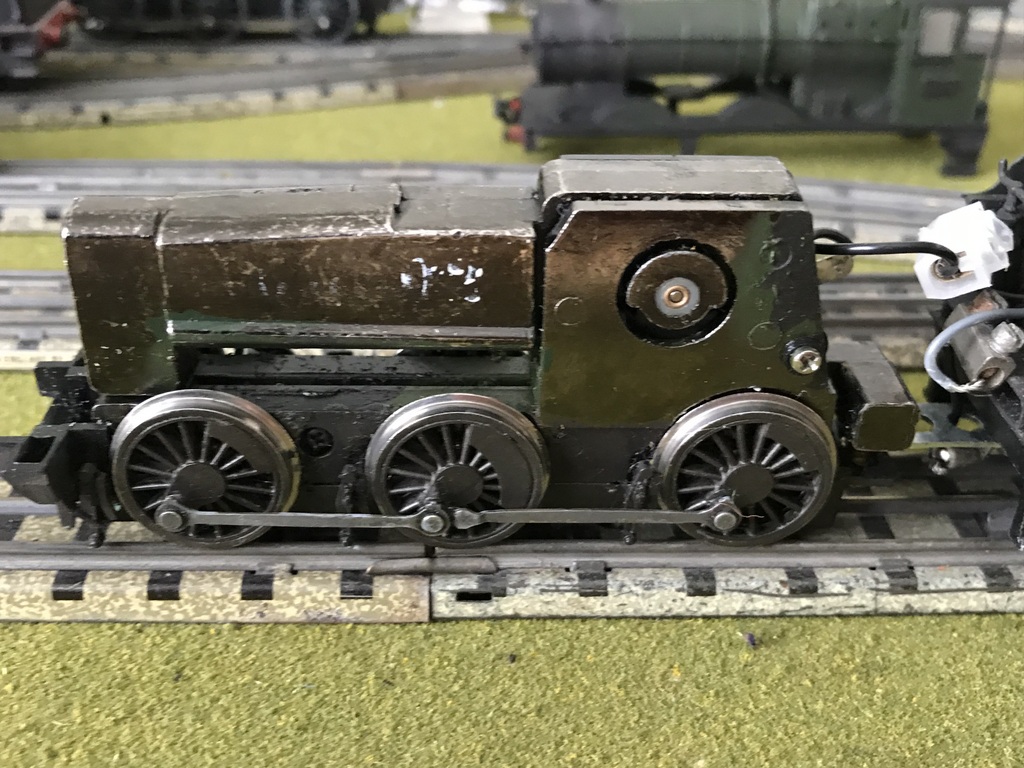
1) left side of chassis- unscrew tiny chrome bolt and rescrew in but with a couple of tiny fabric washers.
2) right hand of chassis- remove long black bolt from black left contact strip. Take care to hold contact strip in place as it retains in place spring and brush for armature. Solder wire to solder tag and rescrew in again with one or two metal washers.
3) I used a Dublo 3 rail castle chassis and soldered wire from pick up mechanism to connect with wire that runs from solder tagged contact strip.
This particular tender had a second solder tag to the metal tender wheels as they had been insulated from base. That meant soldering an second wire which connects with a tag to a drawbar bolt under tender chassis. This effectually 3 rails the loco so no brief intermittent stopping over points etc. A “normal” 3 rail tender chassis doesn’t have this extra tag I think so wheels and body would just transmit electric contact via drawbar.
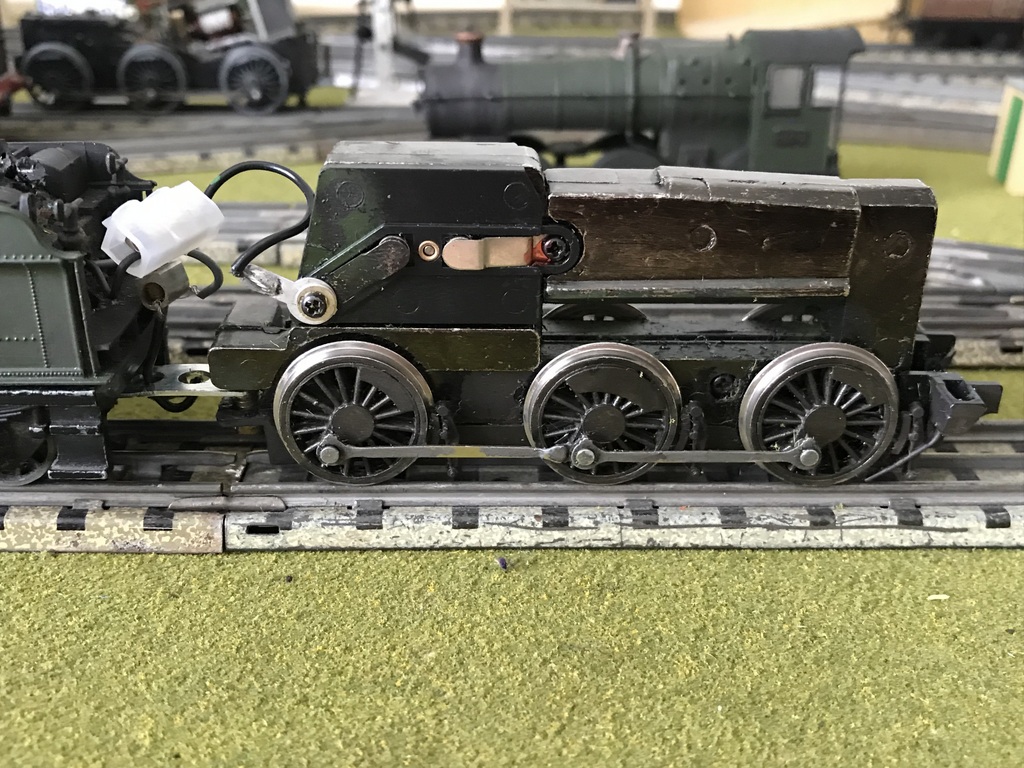
4) I just just small cable connectors which will tuck into cab and which I can paint black. The drawbar I made with a bit of Meccano, and used a Meccano bolt as a ‘pin’ under loco chassis. It’s held in place by the plastic cab under frame, but touches chassis base to give electric contact from tender chassis wheels
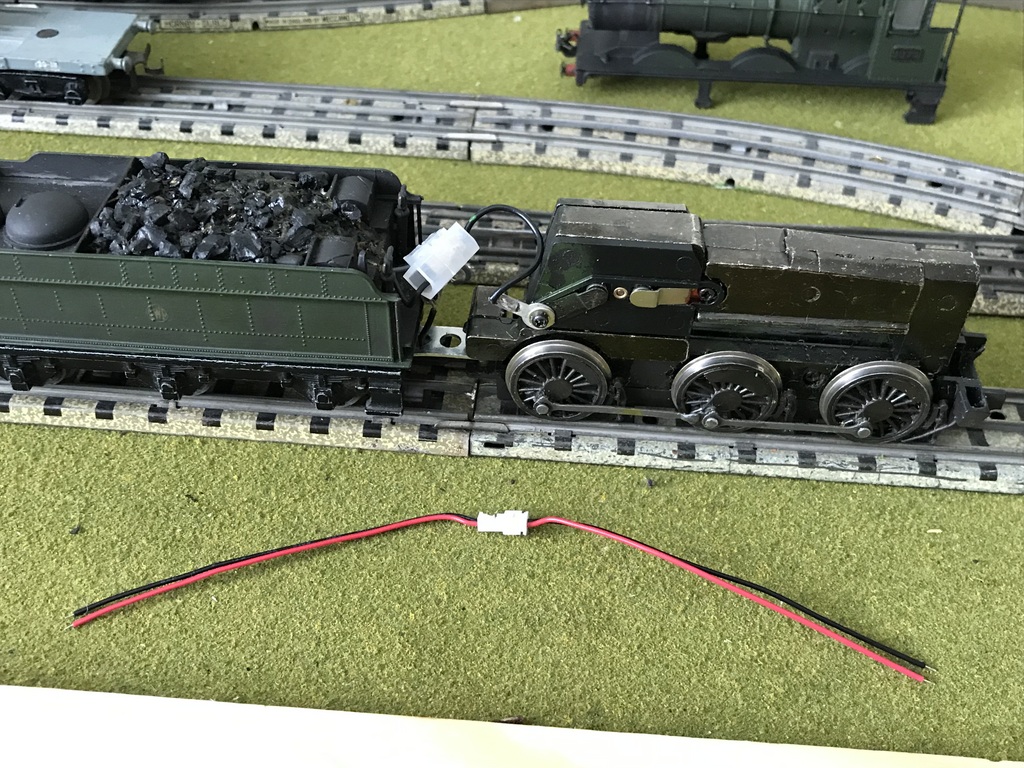
5) I then discovered at Model Rail Glasgow that you can get these tiny “plug connectors” which might make a neater job, though one modeller from Aberdeen Model Railway Society said he thought they’d be a bit finicky so he recommended sticking with small cable connectors! The older we get, we have less nimble fingers and poorer eyesight!
6) the original Mainline tender was cut from its chassis base and secured to Dublo Castle tender chassis with bolt and bits of glued plastic card to keep bolt it in place.
Damian a member of the Train Collectors Society sent me a couple of photos of a Mainline loco that had been DCCed. That’s was a very helpful guide as to figuring out split chassis electrics. Certainly lot easier with an “open type” armature of Triang type!
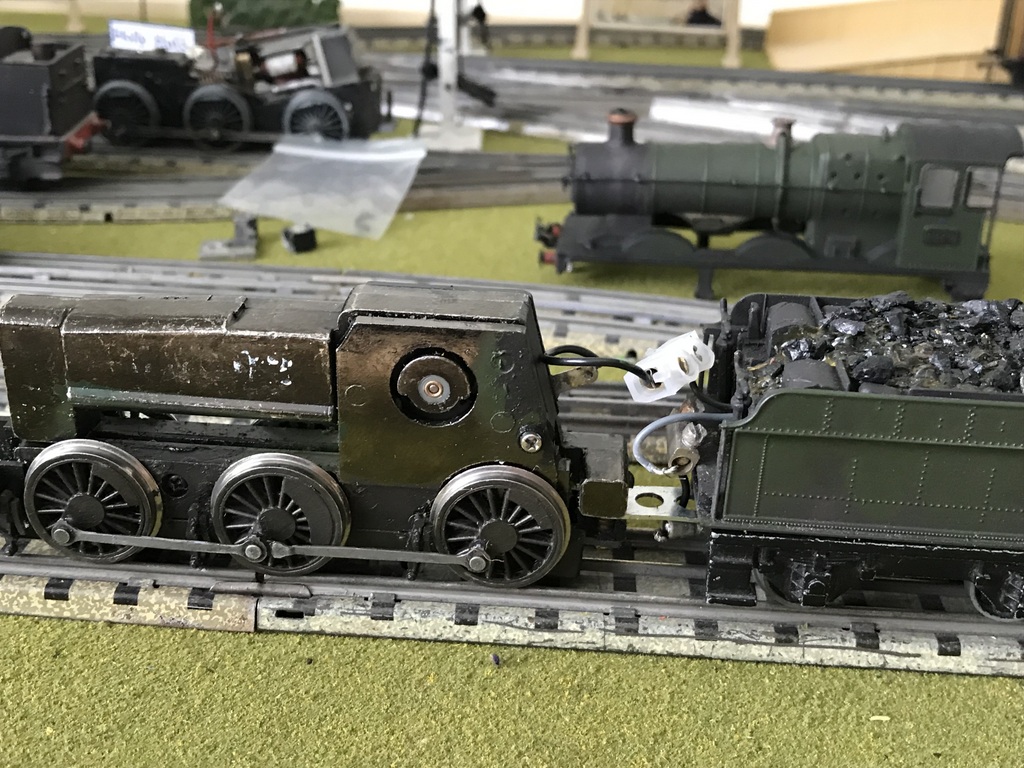
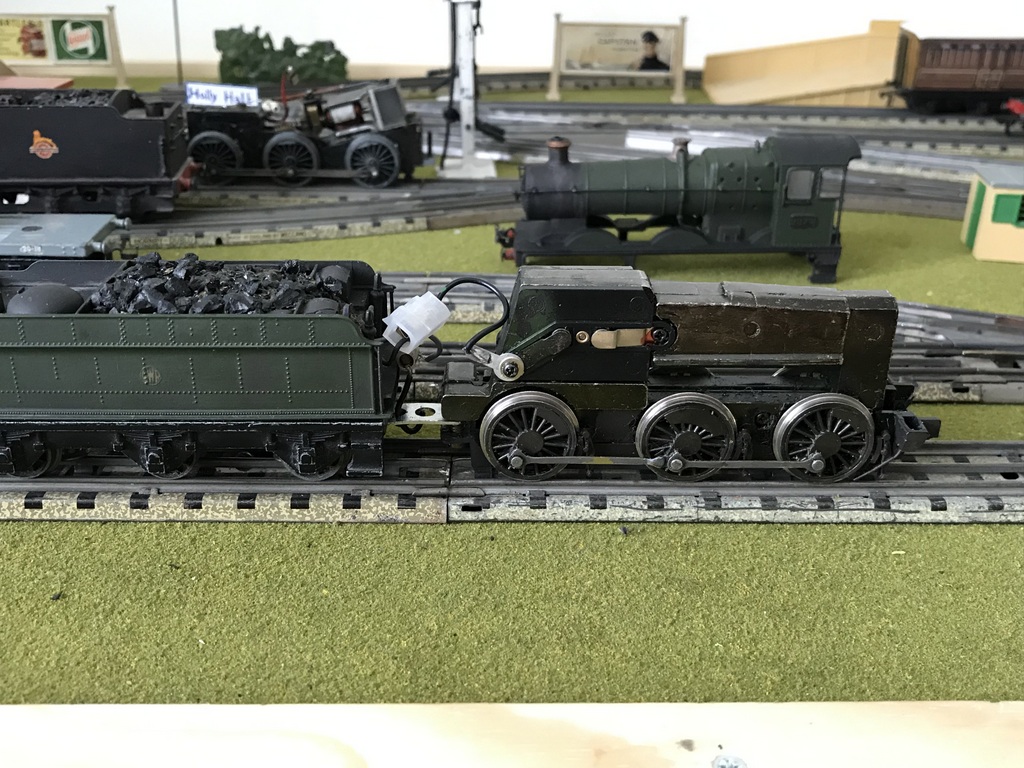
Anyway, works well and looking forward to reassembling and using it on a GWR goods or local passenger. Will send photos.
Hope this might be of help, I’m sure someone with more electrical know how can make a much neater job!
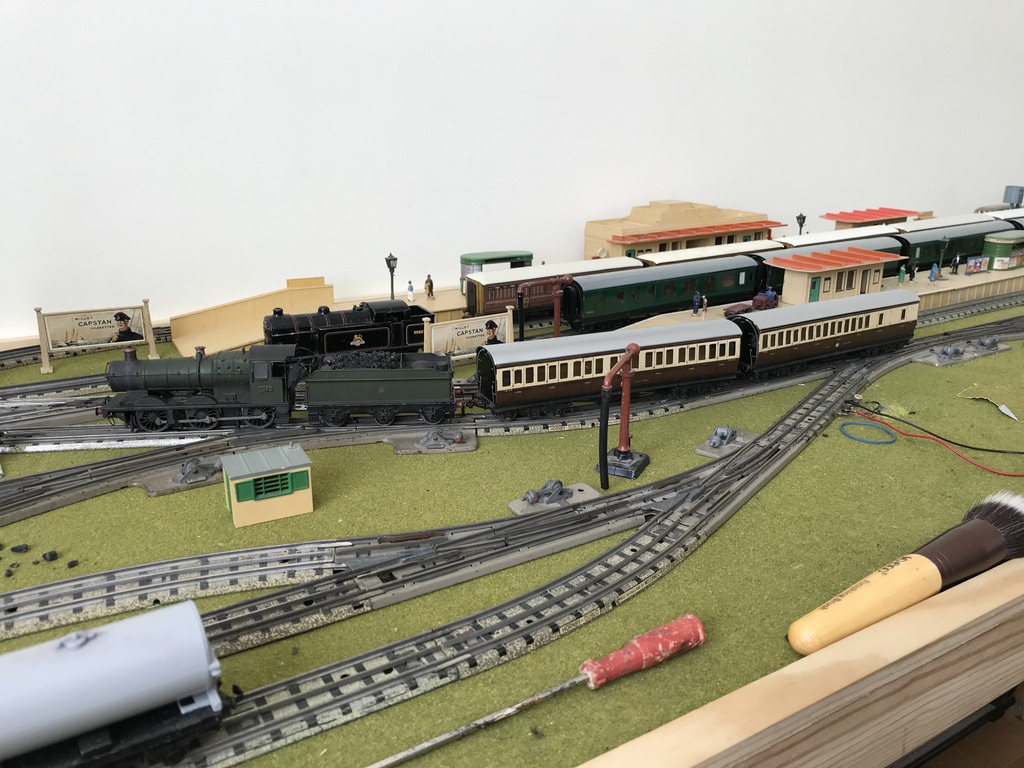
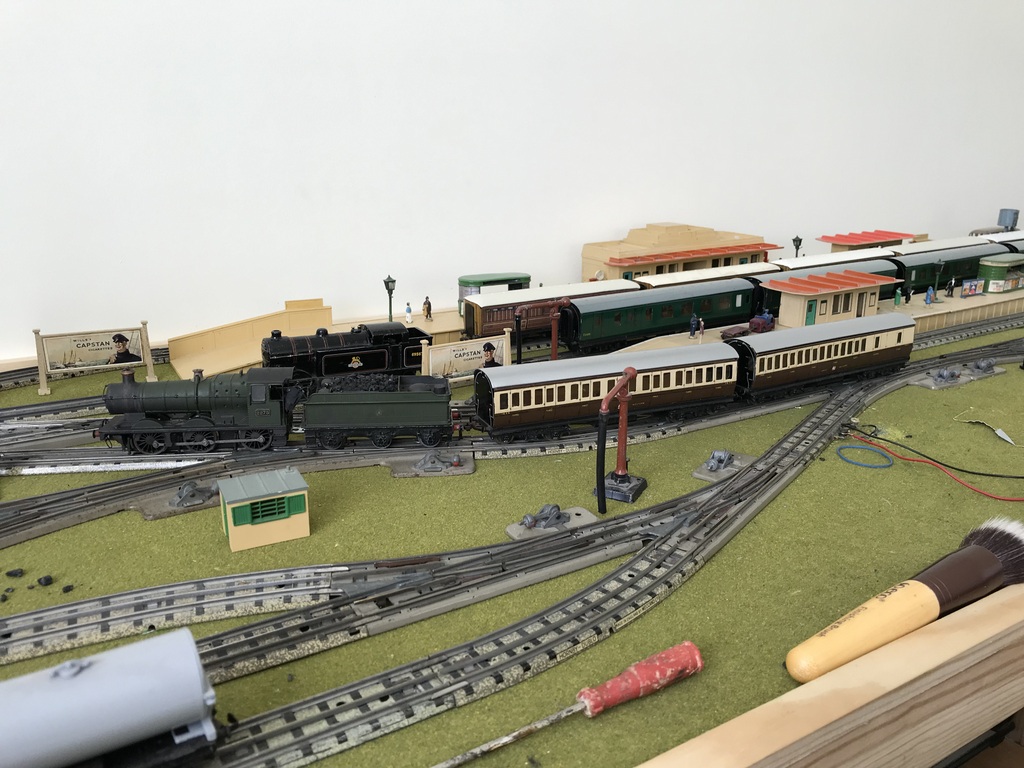
Here’s some photos of my reassembled Collett 0-6-0. Pretty finicky as Mainline body very tight so needed to file a wee bit of internal sides. But amazingly it works fine apart from discovering that rear tender pick up spring is a bit weak. Will have to get another!

The coaches are scrap and rusty D14 suburbans which I repainted by hand a couple of years ago
With tiny transfers – with help of magnifying glass!
Mainline locos have plastic axles which I hadn’t foreseen and are prone to breaking so will see how long it survives.

I’ve found an old J39 0-6-0 metal kit in bits but with a Triang jinty chassis. I’m wondering how to tackle that now, can you pass my request on to your friend Ray? The tender is complete and I’d have to saw it from its base to try and get a Dublo tender pick up in, but maybe there’s a simpler way if loco chassis is possible to 3 rail.