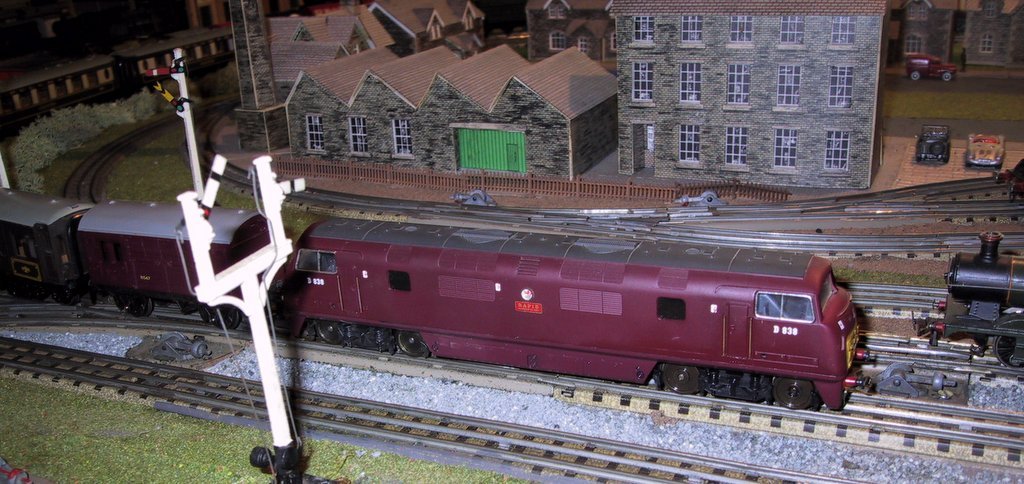
William would like a Warship to run on his 3 rail layout. The easiest but not the cheapest is to buy a Trix 3 rail version although the scale is not 00 (slightly smaller) and running is just OK – see my previous posts on this.
I also have a Lima one which I acquired as a 3 rail conversion back in 2007 and he would like to have a go at his first conversion on one of these.
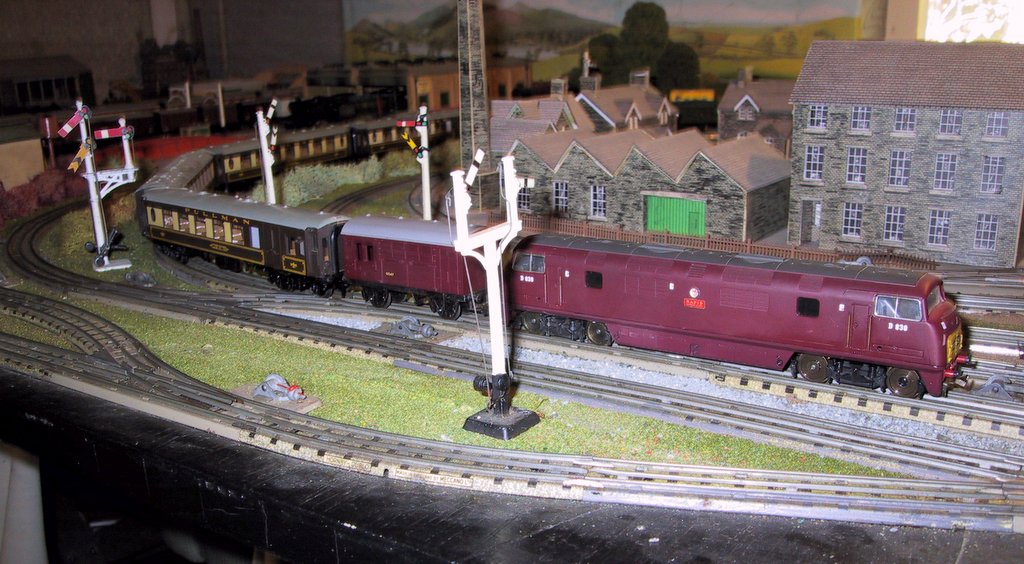
The Lima Warship is very simple, relatively cheap to buy and it would not be a financial disaster if it all went pear shaped. To match with HD it should be green or maroon as mine. Rail Blue came after HD was bought by Triang so my layout avoids this timeframe. Examples are available from ebay for around £40 as a BIN but bidding might get you a cheaper one. There are usually plenty available.
Lets just review what has to be done before we look at my conversion.
(1) The 2 rail pick up wire to the motor has to be disconnected
(2) A new centre pick up has to be installed and wired to the motor
(3) The insulated wheels have to be de-insulated to allow them to run over HD points without faltering
Now lets look at how my one was 3 railed.
First take off the body. Carefully as it is held on by plastic lugs which are easily broken – mine are but the body sits on the frame OK but you have to remember to pick it up by the chassis.
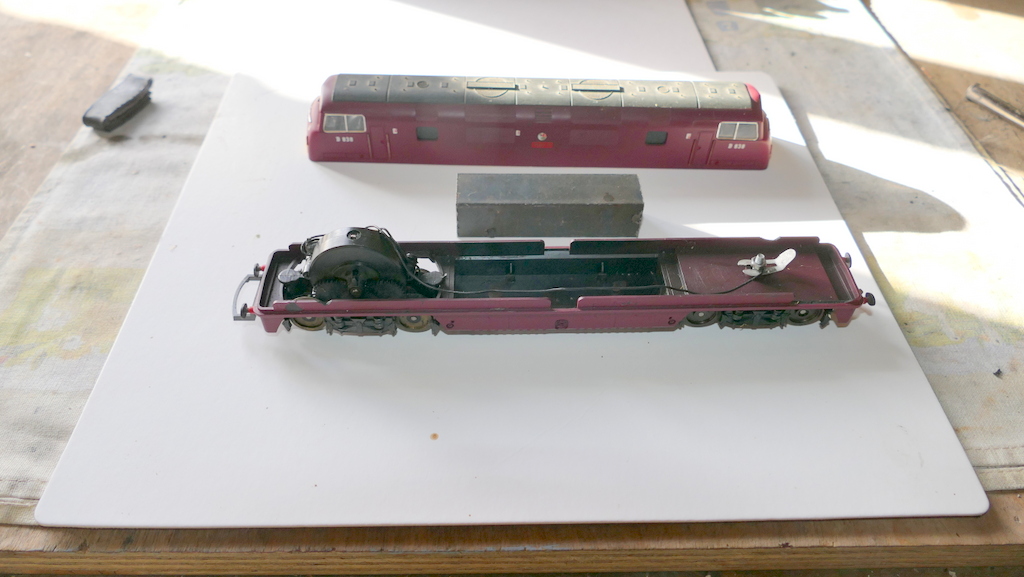
Power bogie, large weight, non powered bogie, One wire between the two. On the left extra lead weight to put on top of the weight, but it needs some more.
Pick up
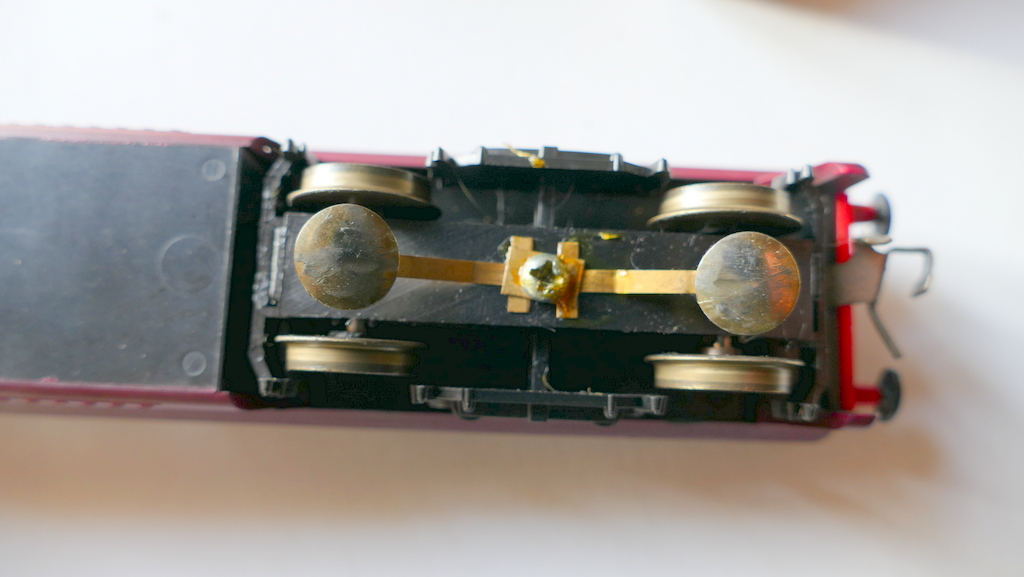
The pick up is the ultimate bodge. Probably 2 paper clips or even drawing pins soldered onto springy copper. It works but it won’t last that long and I would recommend using a Marklin skate. Everything on this bogie is plastic so there are no insulation problems that you can get with metal framed locos.
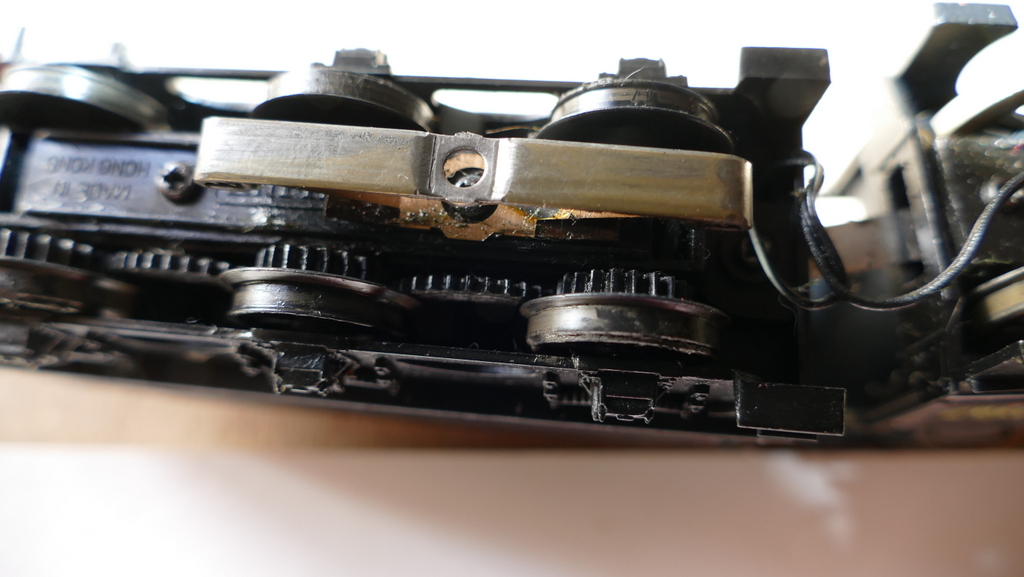
as on this conversion of a tender drive loco. Marklin pickup here
Current from the pick up is transferred by the bolt drilled through the bogie to a connection in the body
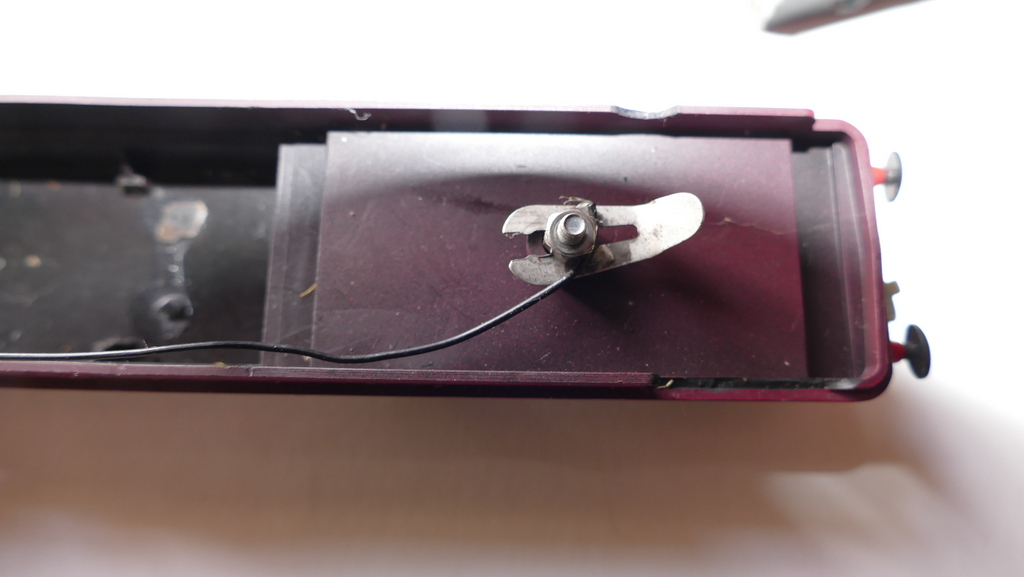
I think that the clip that locks the nut came from the original 2 rail pick up. This conversion uses the original wire from the 2 rail pick up and therefore there is no need to solder a new wire to the motor, as this would be difficult unless your soldering is pretty good.
So apart from ensuring that you are careful to ensure that you drill the hole in the correct place, lock the bogie that it swivels but is not too loose everything should be OK.
That completes action (2)
So how were the wheels de-insulated. Well on my loco this is bodge number two. He has turned one of the non powered bogie wheels around so that non insulated wheel is on the other side resulting in 3 insulated wheels and 1 non insulated wheels on one side. Amazingly this works very well and the engine does not hesitate over points or X crossings. A more conventional method is to use conducting silver paint on the insulated wheels, as this bridges the insulation. Check after that the wheels really are de-insulated and then paint over the silver with matt black. The silver paint is available here and will last you for hundreds of conversions.
As this loco came already converted you can get some idea of the 2 rail set up here but unfortunately there is no detail on the wiring
It’s also good to know that if your drill slips when making your hole in the non powered bogie spares are available on ebay at a very reasonable cost.
I hope that this diatribe helps, good luck and send me some pictures. I will try and help if you have problems.
